AdobeのIllustratorやPhotoshopを使わなくても、お手軽で一瞬で背景を透過できないかと考えることありますよね

そんな機能が、HitPaw FotorPeaで新しく加わったアプリで簡単に背景透過することができましたよ
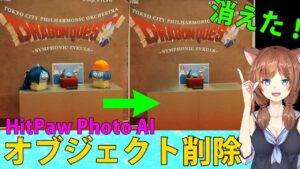
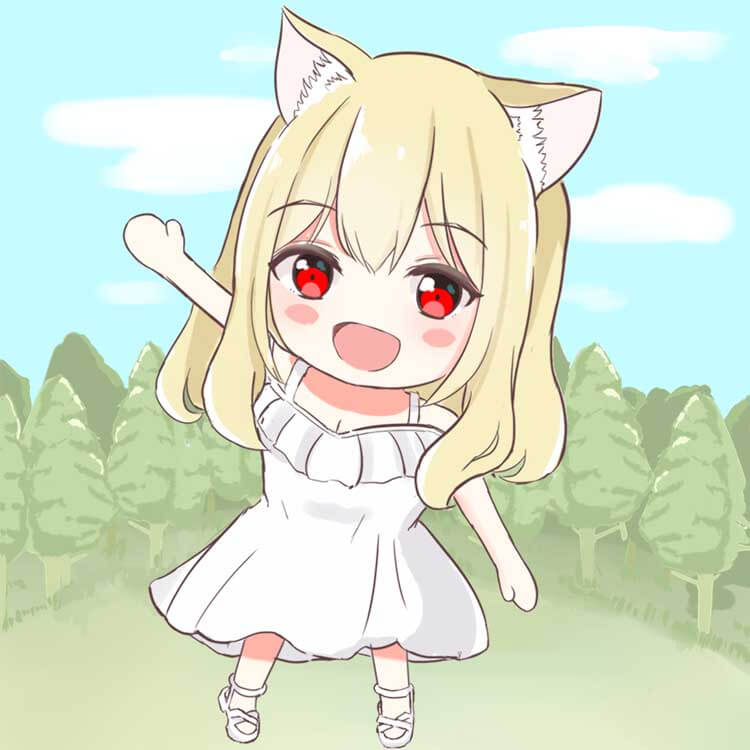
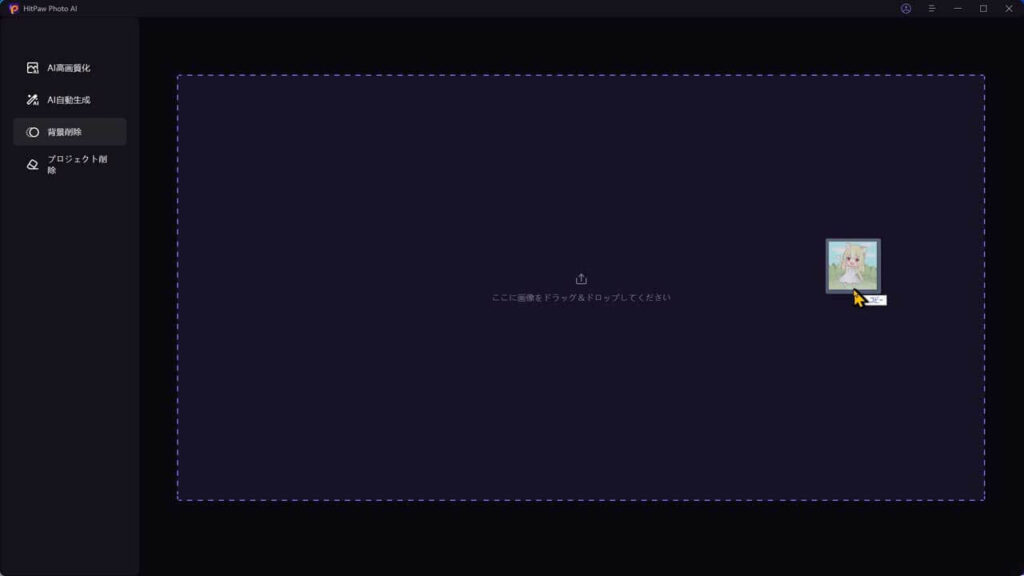
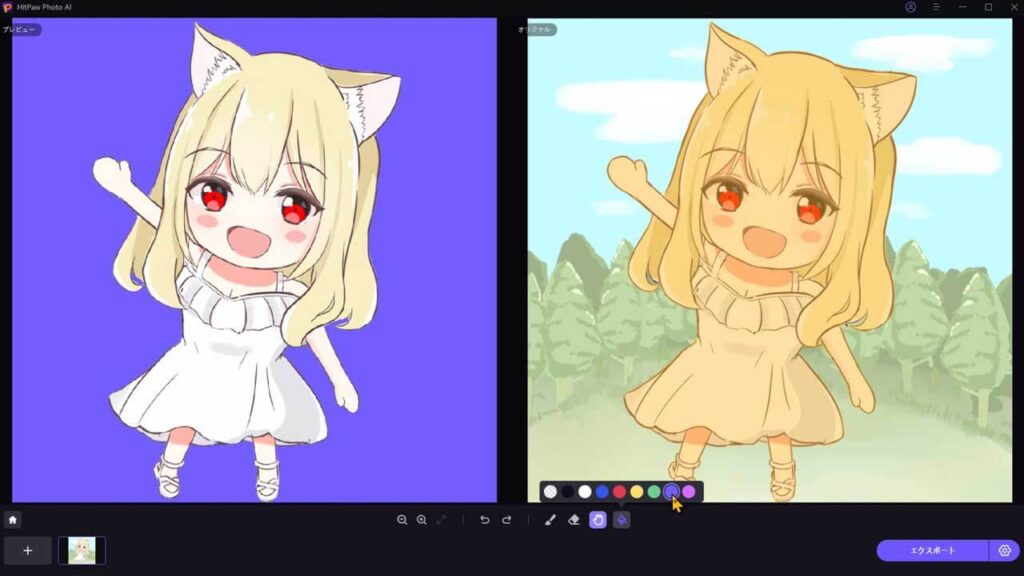
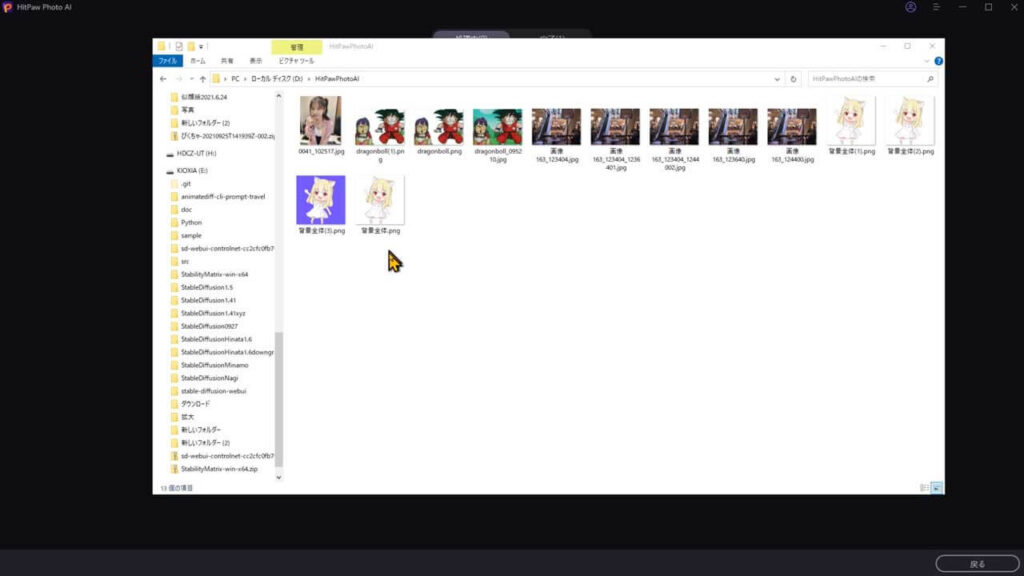
このアイコン用のイラストの背景を、透明にしてみますね

マウスでドラッグ&ドロップしただけで出来るんだね
それでは、ほかの透過ソフトなどの違いなどHitPaw Photo AIでの背景透過について解説していきますね
ワンクリック背景透過方法♪【HitPaw FotorPea】
この背景透過のアプリは、HitPaw Photo Enhancerがバージョンアップし、HitPaw FotorPeaという画質を高画質化してくれるソフトウェアに、追加されたアプリケーションです
または、HitPaw FotorPeaの公式サイトでご確認ください
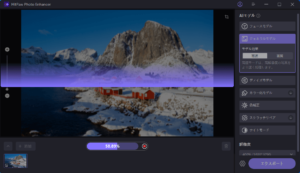
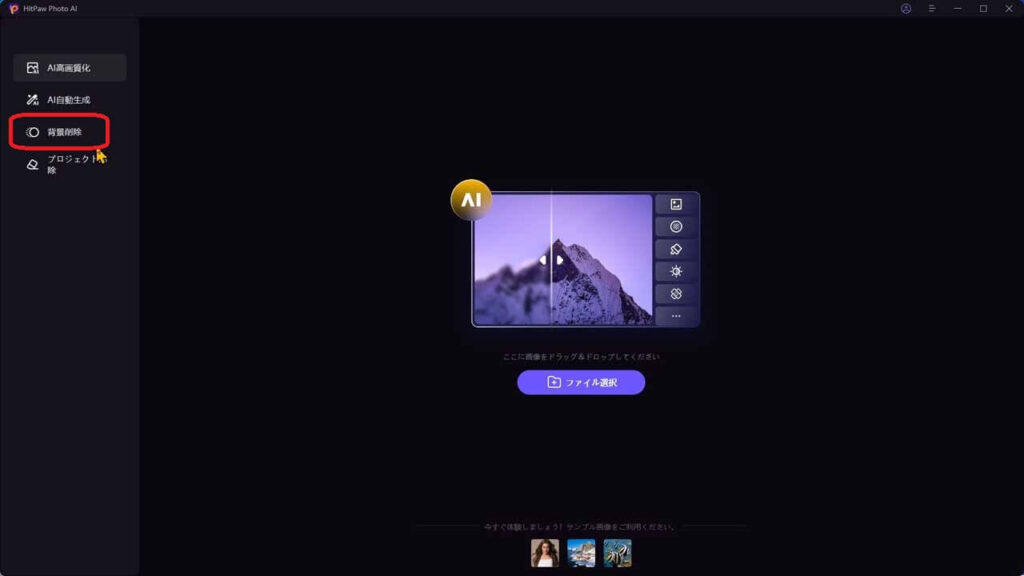
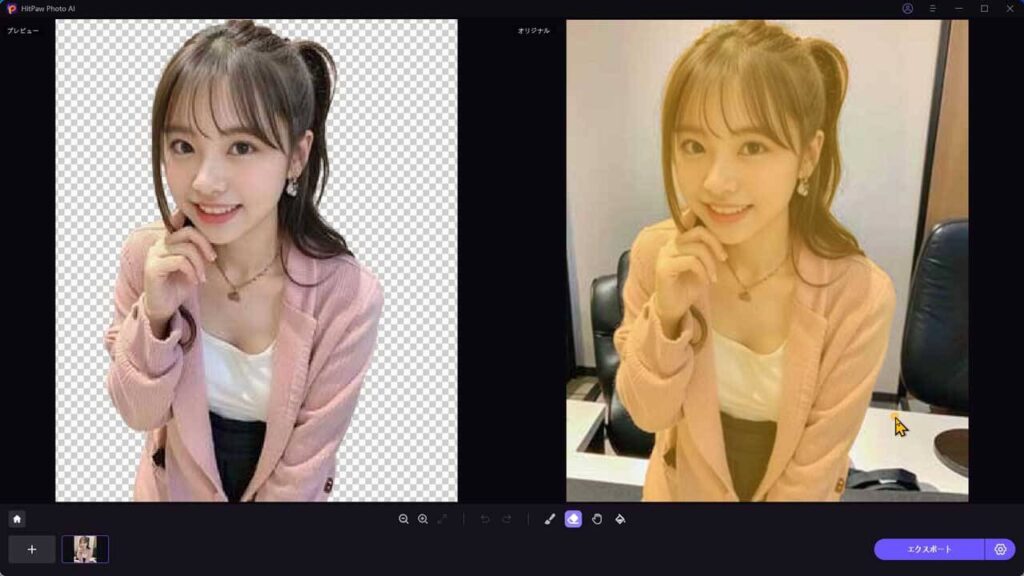
左側のメニューから背景削除を選択してください
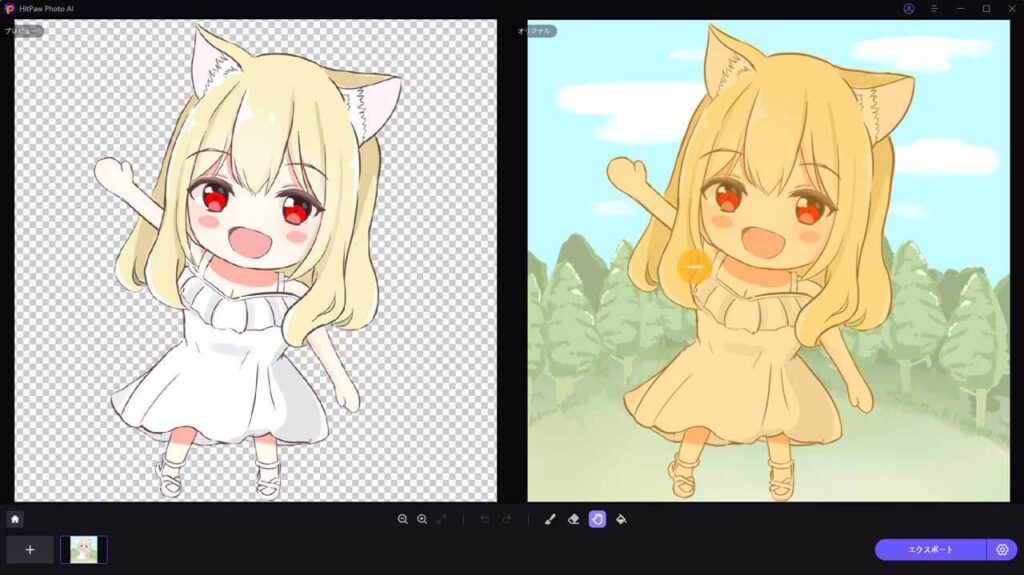
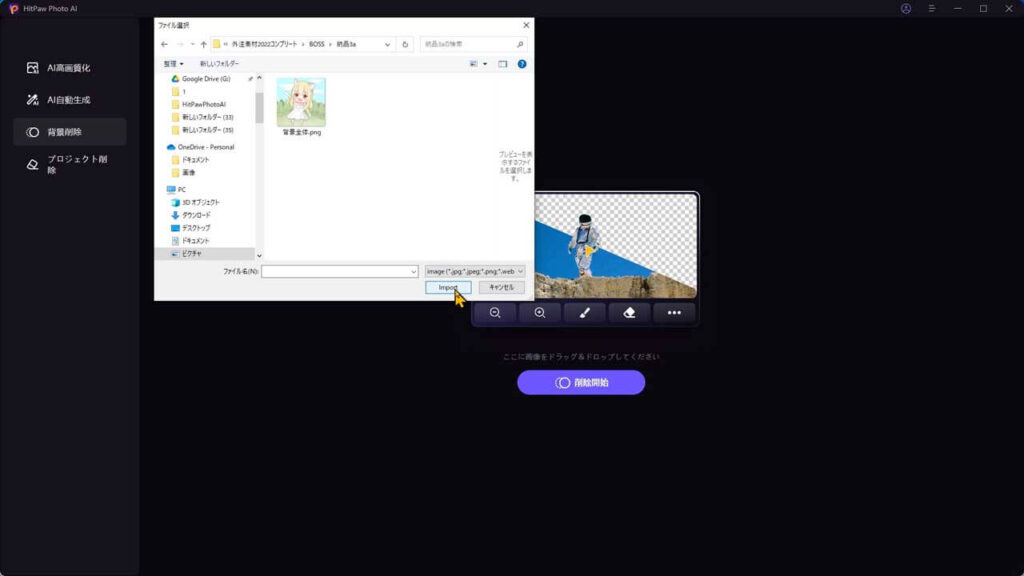
大きな特徴は、フォルダから画像を選択するか、ドラッグ&ドロップするだけで、精度の高い背景透過を一瞬で行えます
AdobeのIllustratorやPhotoshopでも背景透過は出来ますが、慣れないと操作性が大変ですし、Adobeの使用料金がチョット重いですね
また、ほかの背景透過アプリと比べてですが、背景を透過する部分を精度高く判断し処理されています
さすが、生成AIといったところでしょうか
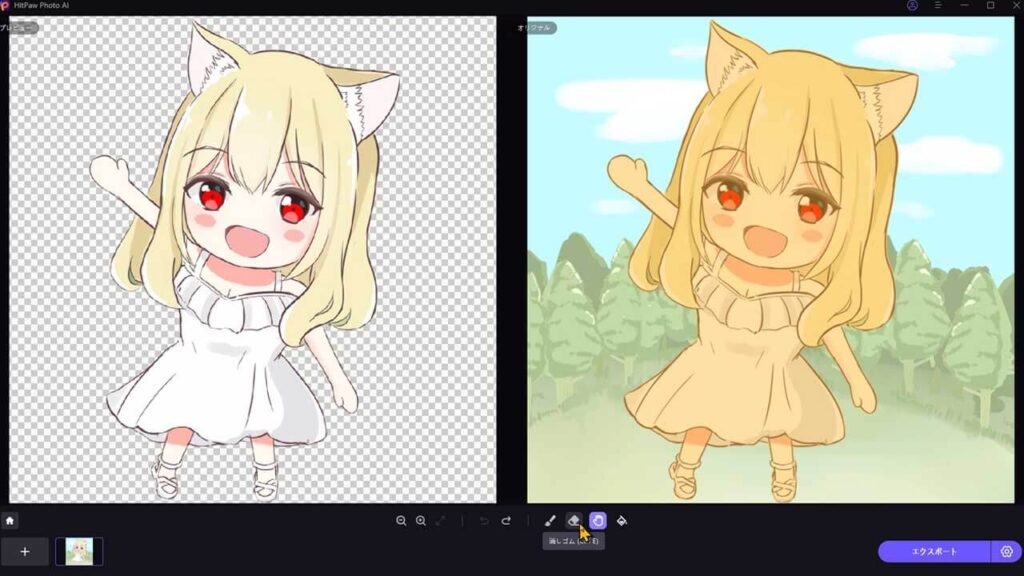
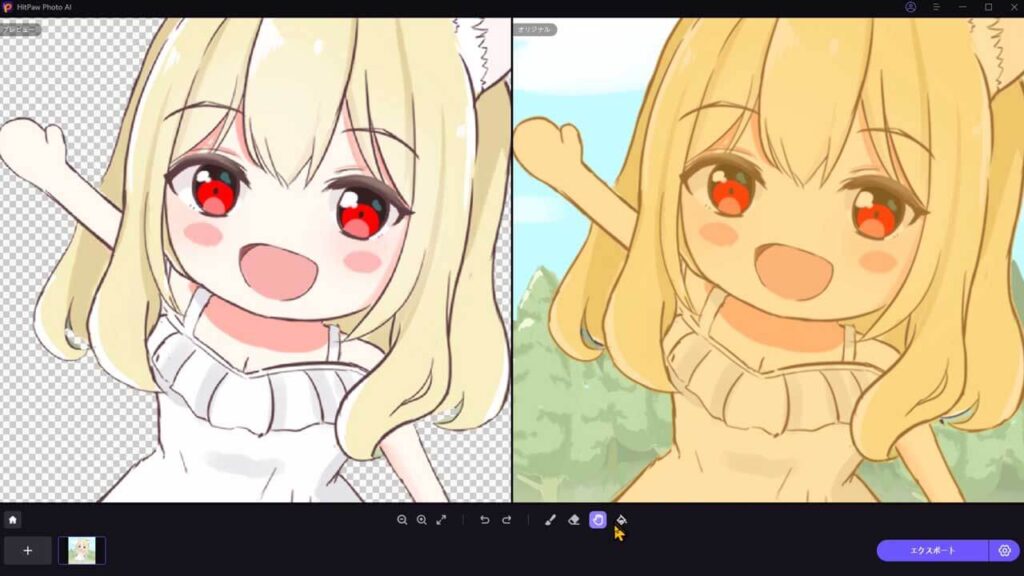
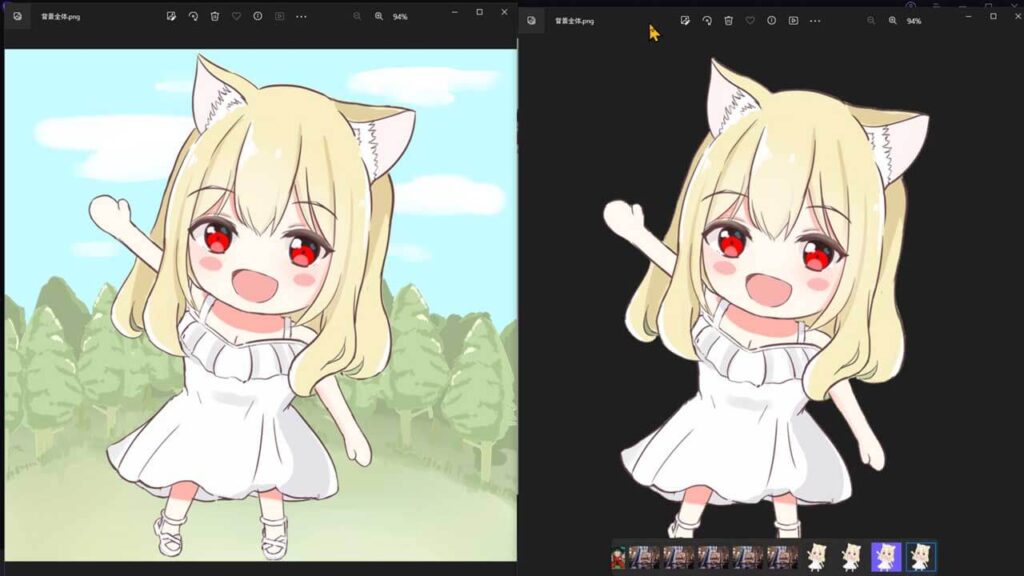
好みにもよりますが、かなりナチュラルに抽出されています

このままでも、かなりナチュラルではないでしょうか?
髪の隙間に、少しだけ背景色が残りましたが、それ以外の抽出はナチュラルでとてもいい
AdobeのIllustratorやPhotoshopは、詳細なコントロールをすることもできますが、このワンクリックで背景透過したモノでも十分使えるレベルかと思います
【HitPaw FotorPea】背景削除の機能を解説
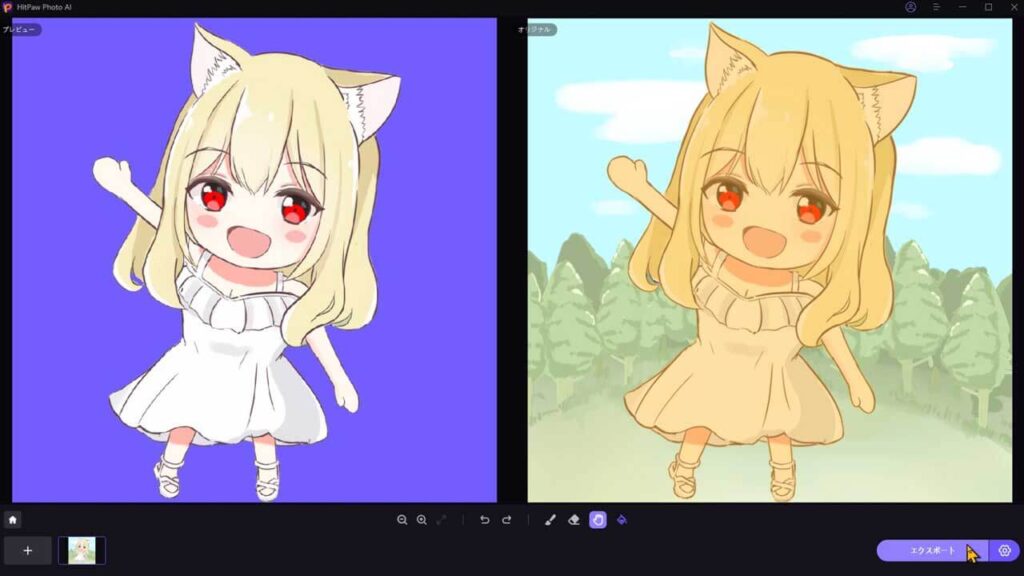
もちろん、HitPaw FotorPeaもワンクリック背景透過だけでなく、調整が可能です
画面下のアイコンで、調整できます

左から説明します
- 縮小と拡大(マウスフォイールでの操作も可能)
- ウィンドウにフィット
- 取り消し
- やり直し
- ぶらし
- 消しゴム
- キャンパスを移動する
- 背景色を付ける
背景が残ってしまった部分を透明にしてみる 消しゴム
さきほどの、髪の隙間に残っている背景色の緑を消してみましょう
追加の透過に必要な機能は、消しゴムです
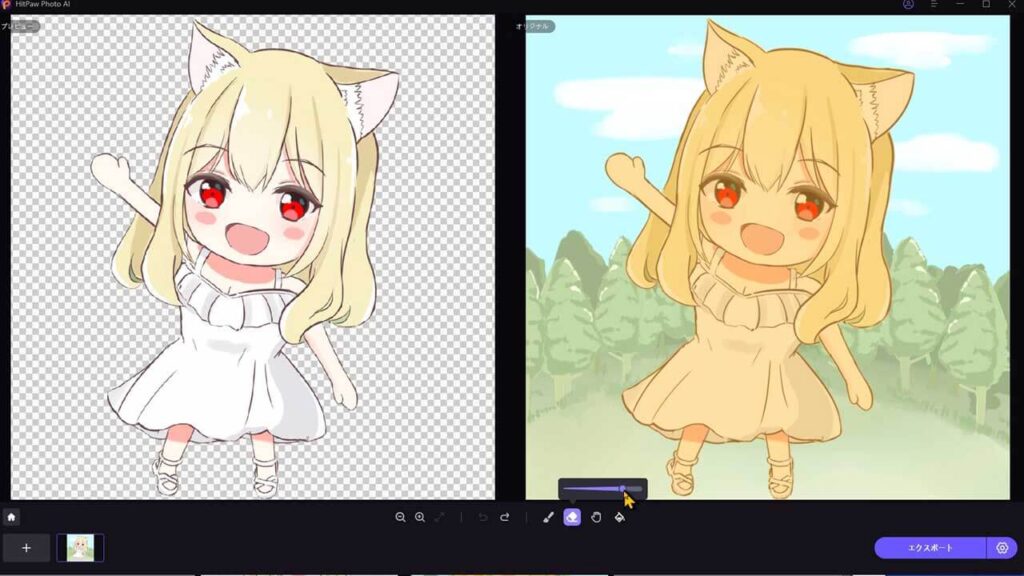
太さを調整して、緑の部分を消してみましょう
もし透過されたくない場所が透明になってしまったら‥ ブラシ
もし透過されたくない場所が透明になってしまったら、ブラシを使いましょう
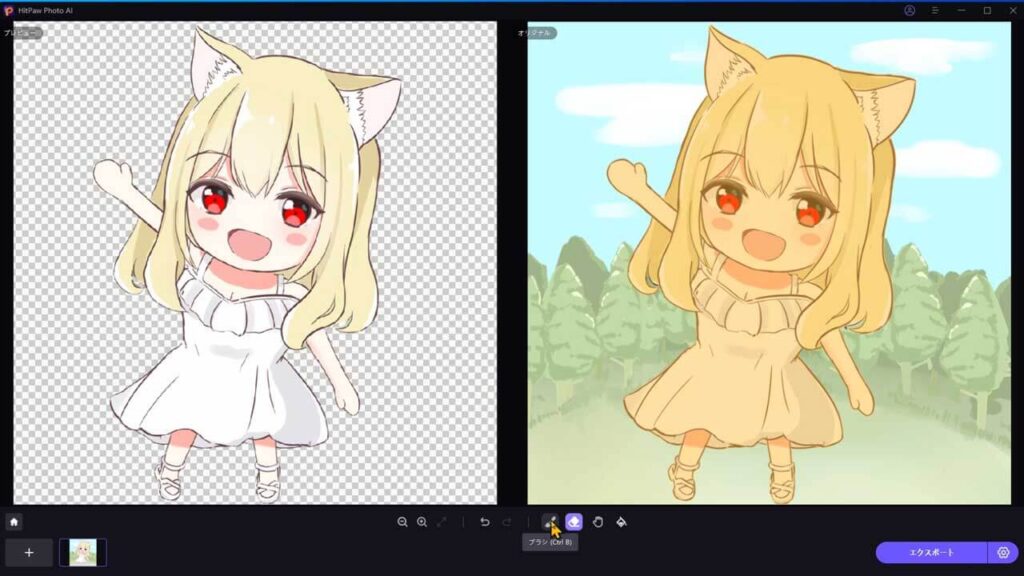
ブラシを使った場所の透過された部分が透過されなくなります

背景色を置き換える
背景色を別な色に変えることも出来ます
一番右の背景色アイコンをクリックしますと、背景色を選択できます

あとはクリックするだけです
細かな作業に
細かな作業をするときには、縮小拡大のアイコンで作業しやすい大きさに変えることができます

その際に、画面をスクロールする時に手のひらのアイコンを使って映し出される画像の位置を変えることができますよ
出力・エクスポート場所の設定
画面右下の歯車マークで、出力先のフォルダを選ぶことができます
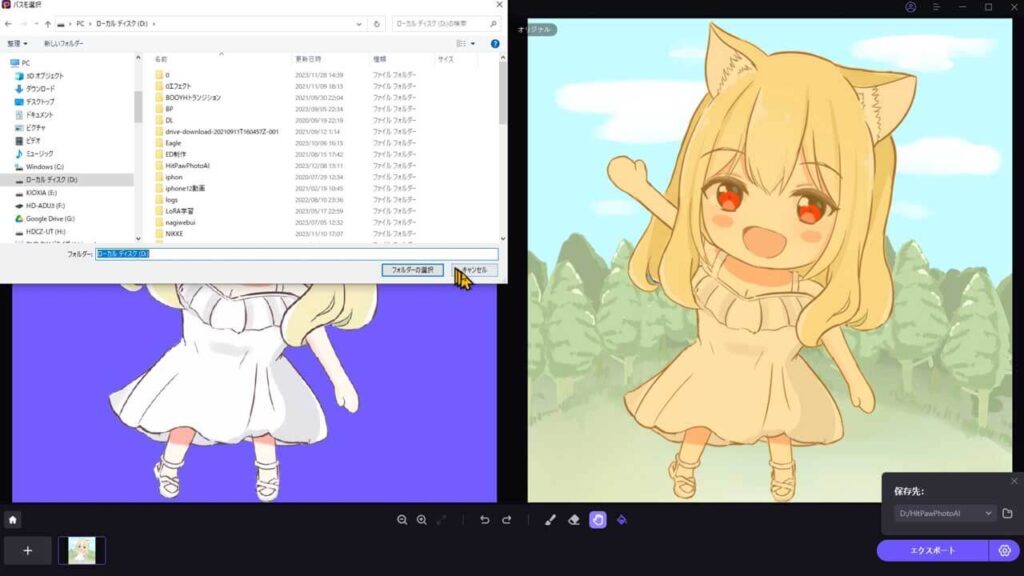
エクスポート・出力
出力は、右下の【エクスポート】をクリックすれば、パソコンのフォルダに送ることができます
指定したフォルダに入っていますね
残念ながら、無料版は有料版と比べて変換後の画像の出力(エクスポート)ができません。
 みけねこまる
1日1枚でも出来たら嬉しかったのだ…
あくまでも、HitPaw FotorPeaの付属の機能という感じなので、この機能だけ求めるなら効果的ではありませんが、メインの機能の画像の高画質化はスゴイ機能なので、これも付いてくると思えばお得という感じかな
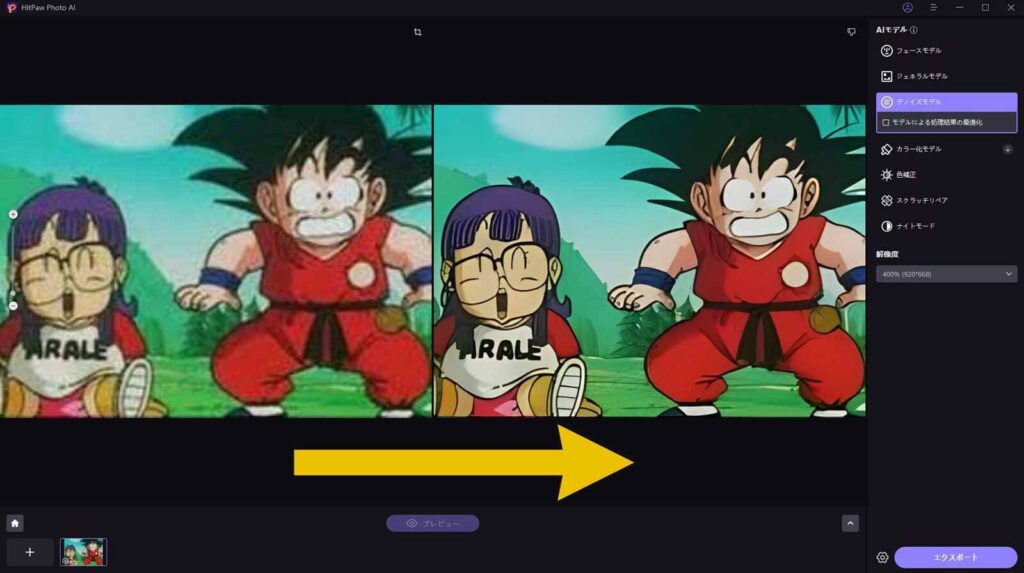
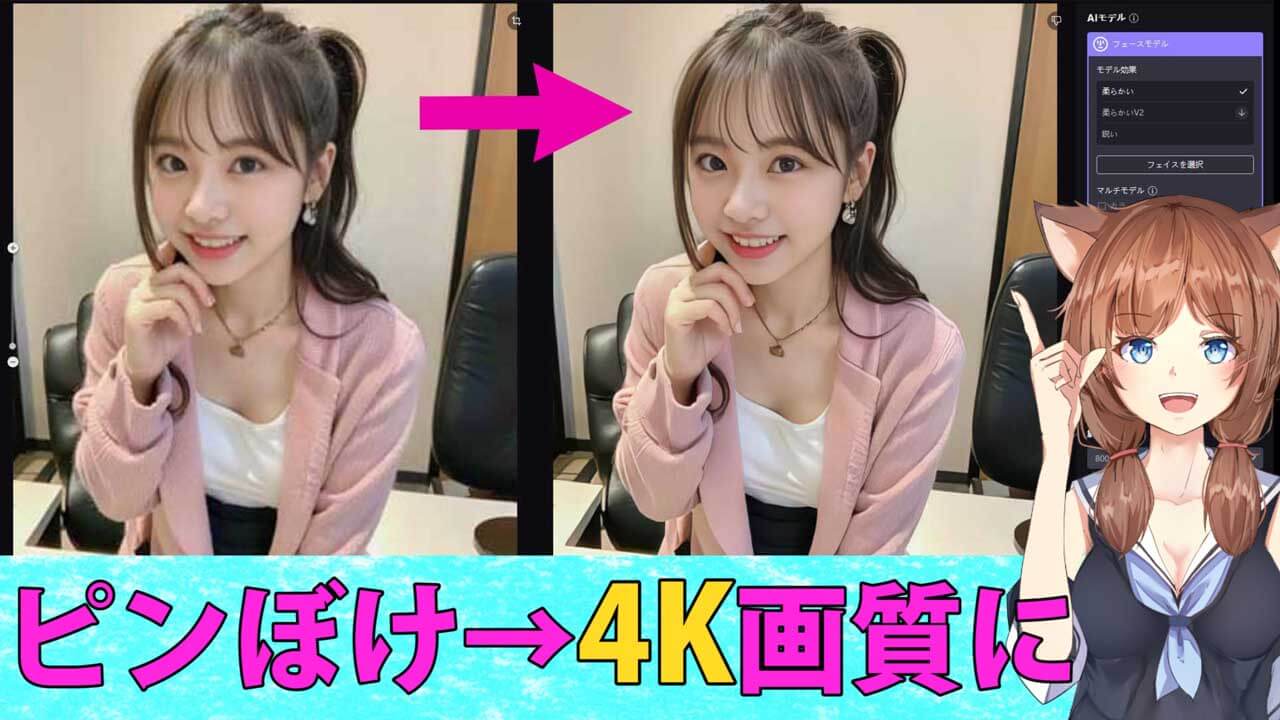
HitPaw FotorPeaは主な機能は下の写真のように画像を高画質化以外にも、以下の新機能が追加されています
また、主な機能である画像を高画質化については、コチラの記事で詳しく解説していますので、興味ありましたら読んでくださいね
HitPaw FotorPea製品ページ
https://www.hitpaw.jp/photo-enhancer.html
使用感
背景透過だけに限らず、HitPaw FotorPeaは機能の割に動作が軽いです
背景削除機能は、AdobeのIllustratorやPhotoshopに比べてやれることは少ないが、生成AIを使っているので切り抜きがナチュラルに行うことができる
境界線の評価だけなら、Adobeのソフトよりも良い様な気もする
他の切り抜き系の生成AIと比べても、さすが有料版のソフトだけあって、ムラが少なく感じます
みけねこまる起動するのも早いし、作業工程も少ないのでラクなのだ
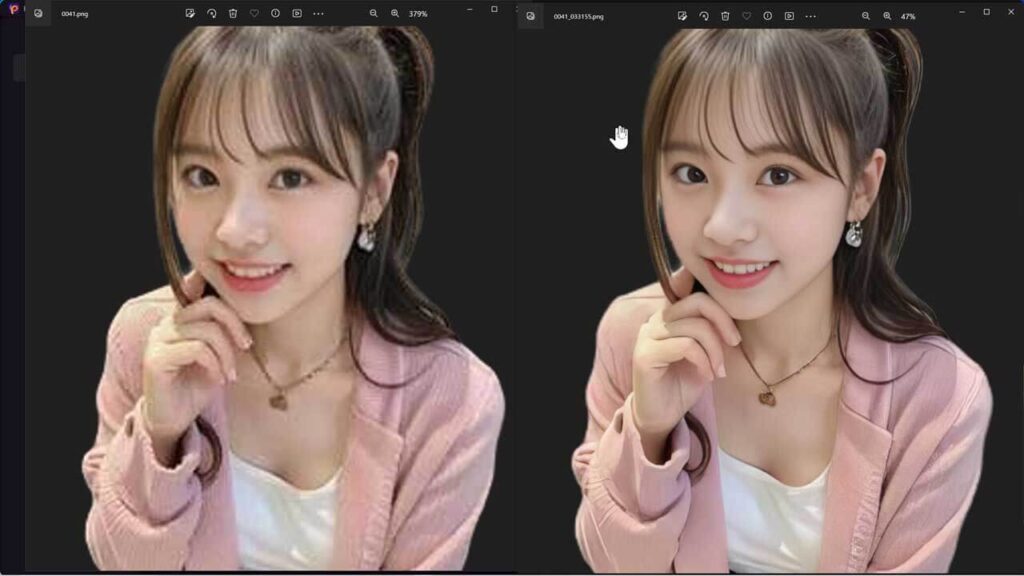
写真も問題なく、背景透過することができます
背景透過は出来ましたが、解像度が低いので、あまり鮮明ではないですね
そんなときには、HitPaw FotorPeaの本来の機能で、鮮明にキレイにすることができますよ
HitPaw FotorPeaの全体的なご紹介と評価した記事が別にあります
また、使い方については、詳しく別記事で解説しています
対応する画像フォーマット
入力可能な画像フォーマット
*.png *.jpg *.jpeg *.WebP *.tif *.tga *.bmp *.jfif
出力可能な画像フォーマット
*.png *.jpg *.jpeg *.WebP *.tif *.tga *.bmp *.jfif
製品に関する詳細は、公式サイトでも確認できます。
ライセンスについて
HitPaw FotorPeaには、無料版・有料サブスク版・買い切り版(永久ライセンス)があります。
無料版は有料版と比べて変換後の画像の出力(エクスポート)ができません。
無料版では全く出力できないのは淋しいところですが、無料版で試して良ければ有料版のライセンスを購入してもいいですね
有料版のライセンスには、以下の3種類が用意されています。
- ・一ヶ月ライセンス(1ヶ月間利用可能)
- ・一年ライセンス(1年間利用可能)
- ・永久ライセンス(事実上の買い切り版)
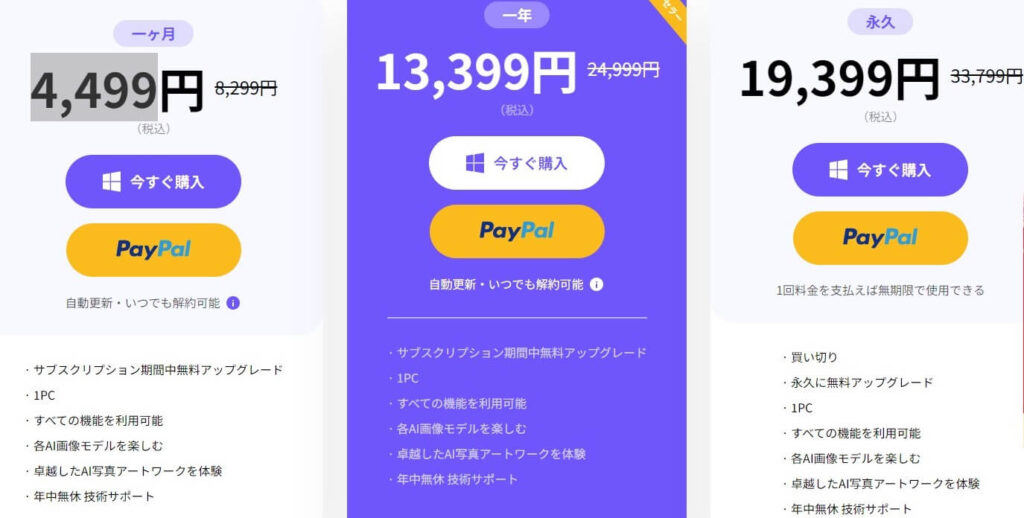
※Windows版とMac版で価格は異なりますので、料金の違いは、HitPaw Photo AI公式サイトでご確認お願いします
サブスクが嫌いな人もいるので、永久ライセンス(買い切り版)があるのがいいですよね
回きりでも無償アップデートが付いている所もステキね
実際の価格は、変動もあるかもしれないので下記の公式サイトで確認してください。