
HitPaw Photo AIの使い方や倍率・出力先などの設定の解説をしていきますね
使い方としては、本当にワンクリックで画質のアップスケールなどをしてくれるHitPaw FotorPeaですが、設定できるポイントはいくつかあるので解説していきますね
HitPaw FotorPeaの基本情報は、コチラの記事にまとめましたので確認してね
【HitPaw FotorPea】基本的な使い方の流れ
基本的な流れは、以下の4ステップで完了しますよ
※インストールが済んでない方はコチラの記事で
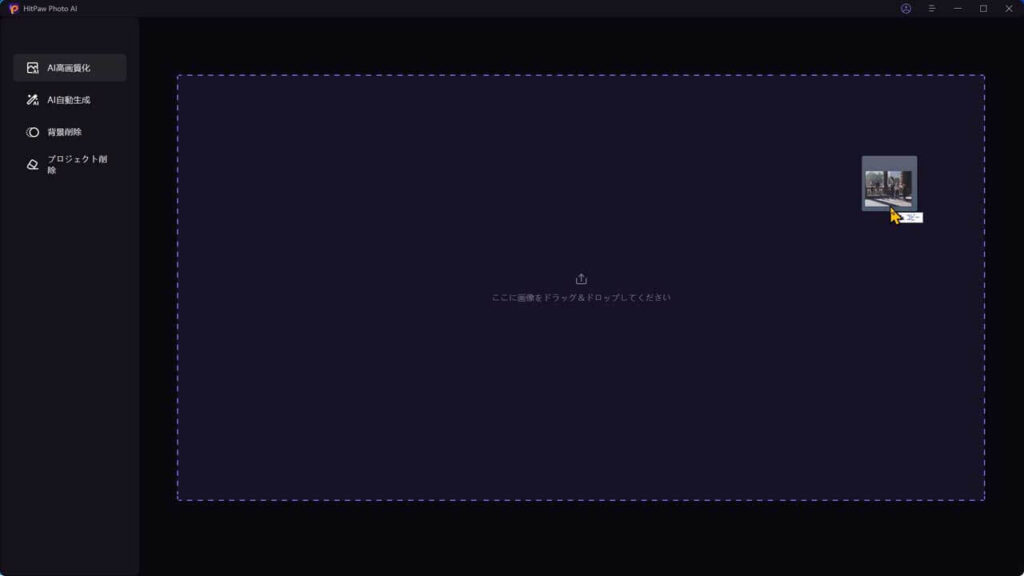
HitPaw FotorPeaを起動する
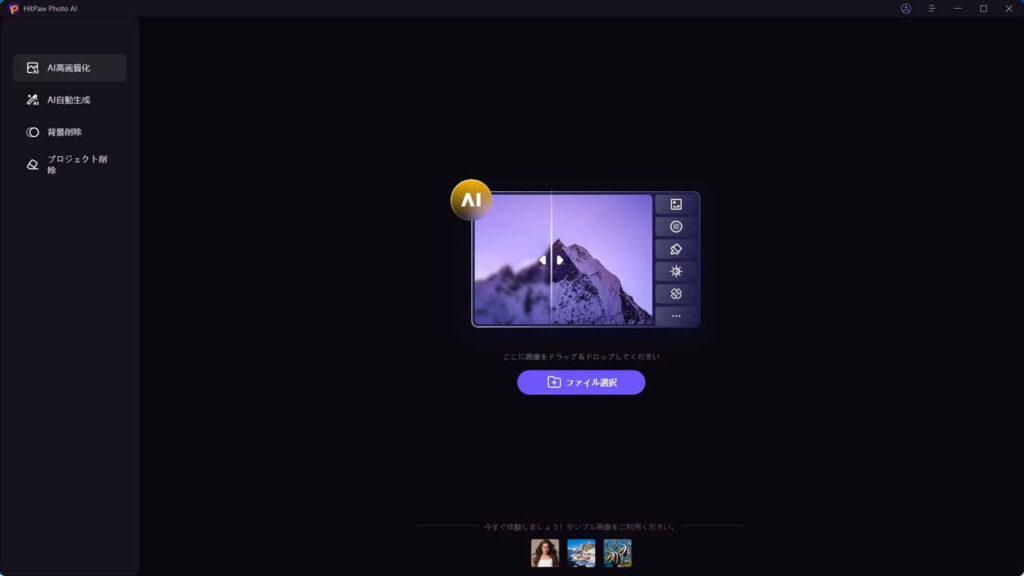
画像ファイルをドロップ
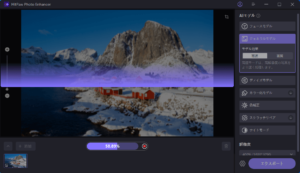
プレビューを押す
エクスポート

スマホで見ている方は分かりにくいと思いますが、信じられないくらいキレイになりましたね
すごく簡単にできるんだね
②から③にかけての間に、いろいろ設定できる事があるので、本記事では詳細に解説していきますね
まだ、HitPaw FotorPeaの無料体験してみてなかっらやってみてね

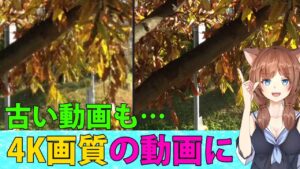
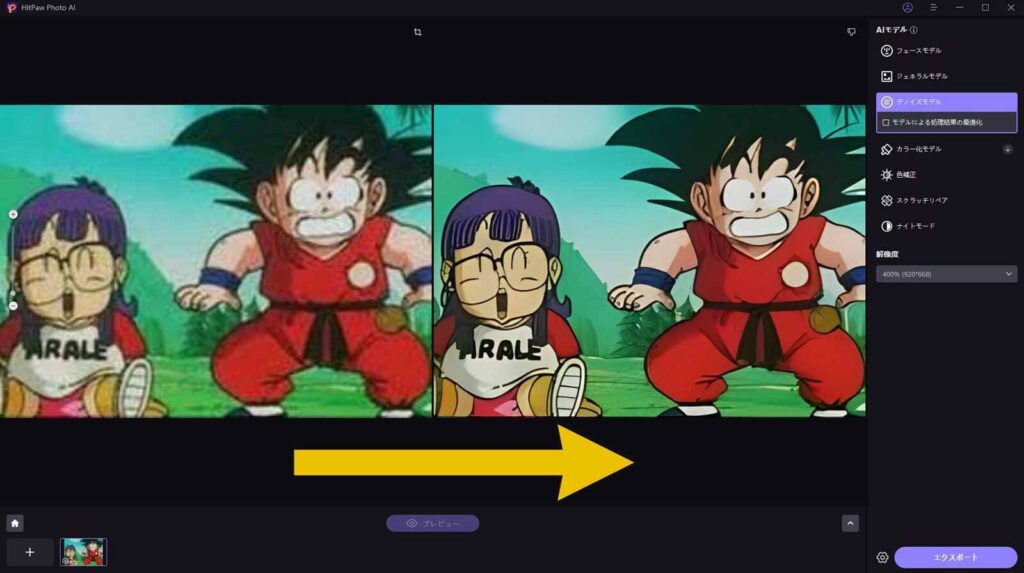
因みに、昔のアニメもこんなにきれいになります
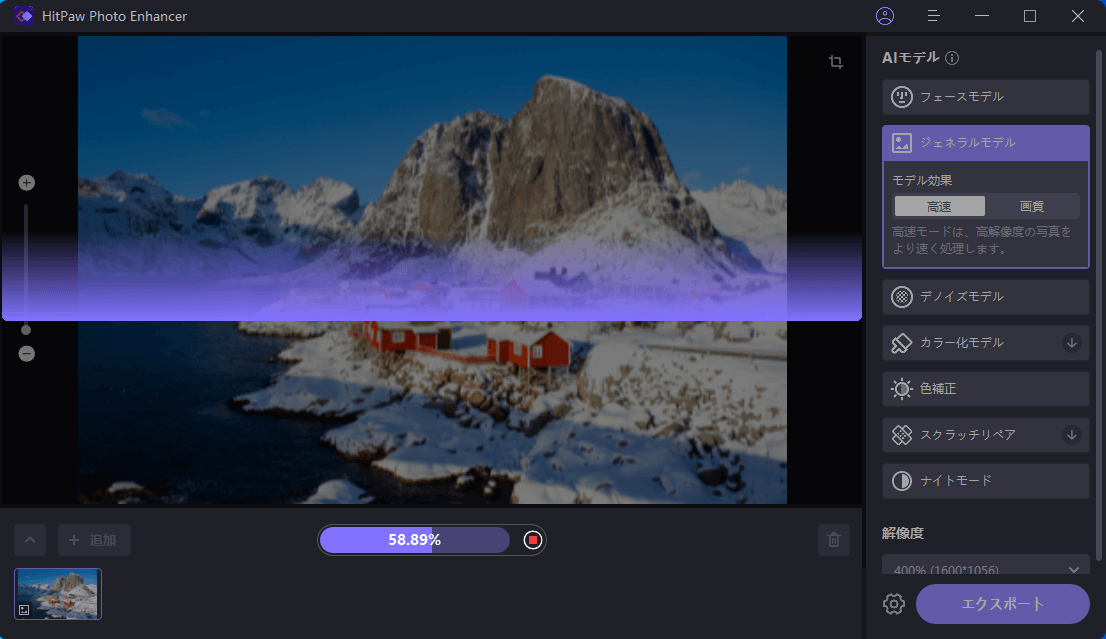
AIモデルを選択しよう!
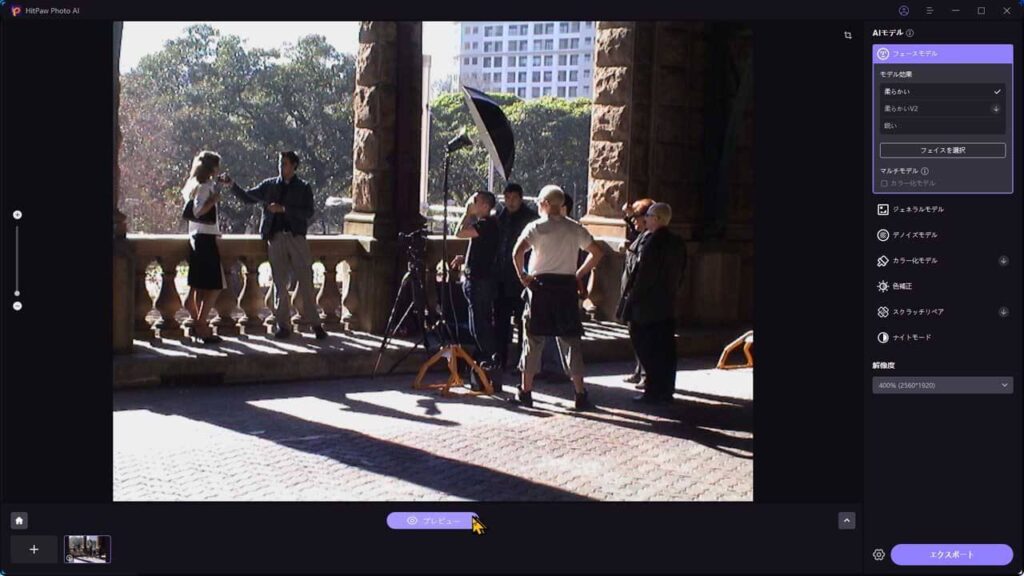
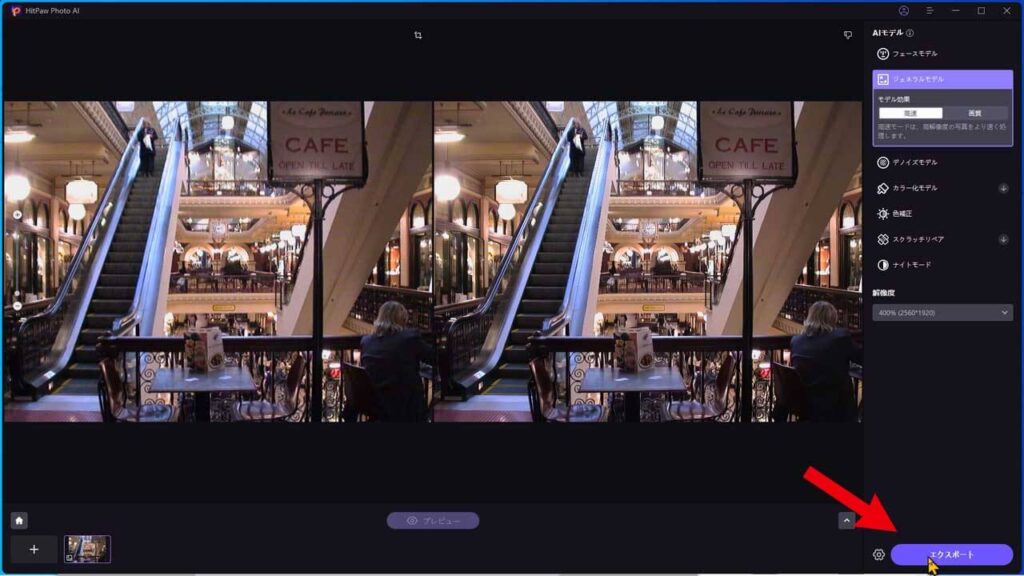
画面の右側のAIモデルを使用して、好みや目的に合わせて合わせて、画質を向上させることができます。
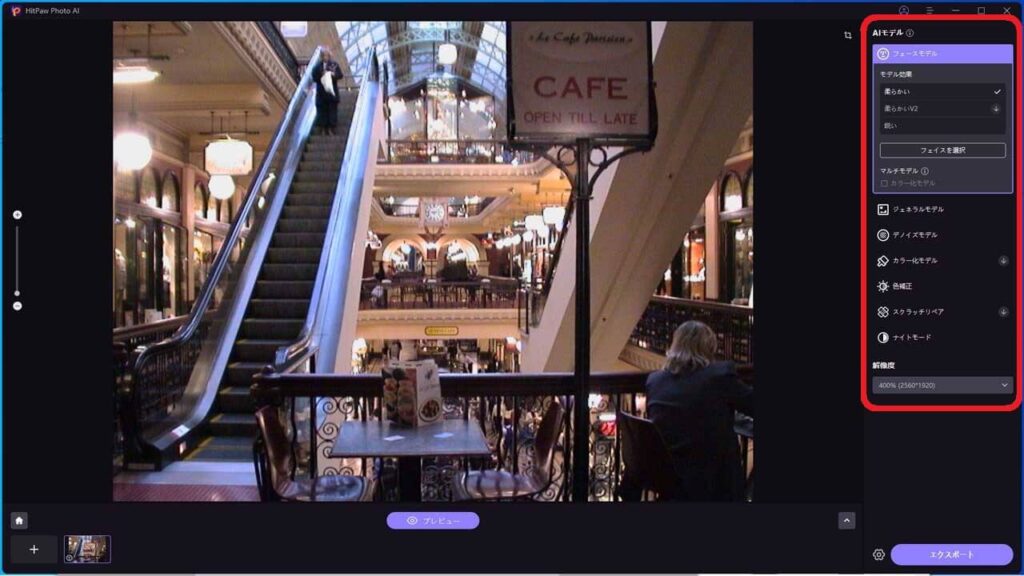
利用可能なメニューは以下の通りです
- フェイスモデル:顔のディテールを強化するための特化モデルです。
- ジェネラルモデル:一般的な画像向けの高画質化モデルです。
- デノイズモデル:ノイズを除去し、クリアな画像を得るためのモデルです。
- カラー化モデル:色の再現性を高めるためのモデルです。
- 色補正:露出や彩色不足の画像を補修
- スクラッチリペア:傷のある写真を修復
- ナイトモード:暗い場所で撮影された写真を明るくする
いわゆるモードを選ぶ感じね
これらのオプションを選択して、画像を自分の好みに合わせて調整できます。
フェイスモデル
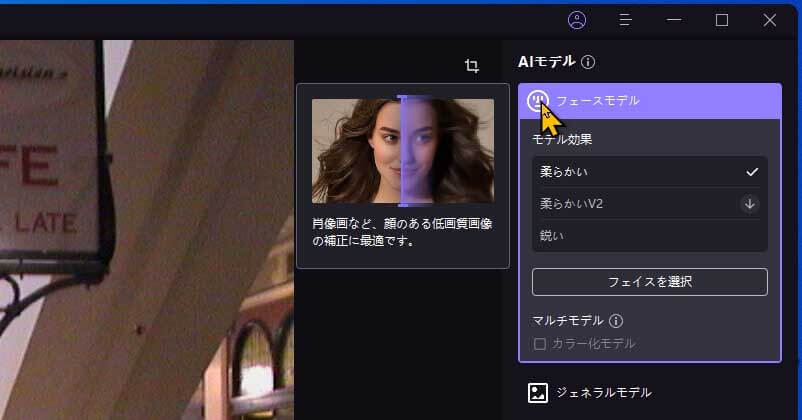
ピンぼけした人物の写真や古い写真の鮮明化してくれるモデルです
ピンぼけしている人物写真や、輪郭が不鮮明な古い写真を鮮明にしたい場合には、「フェースモデル」が役立ちます。
ポートレート画像や古い写真のぼやけを大幅に減らし、画像をクリアにすることができます。
ジェネラルモデル
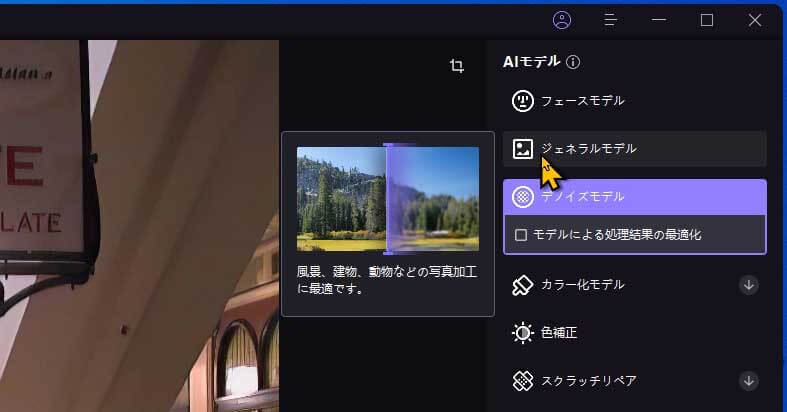
風景、建物、動物など、形や外観がはっきりしている素材を鮮明にするのに最適なモードがあります。
ジェネラルモデルは、金属の質感などの詳細な修正にも非常に効果的で、画像の品質が大きく向上します。
デノイズモデル
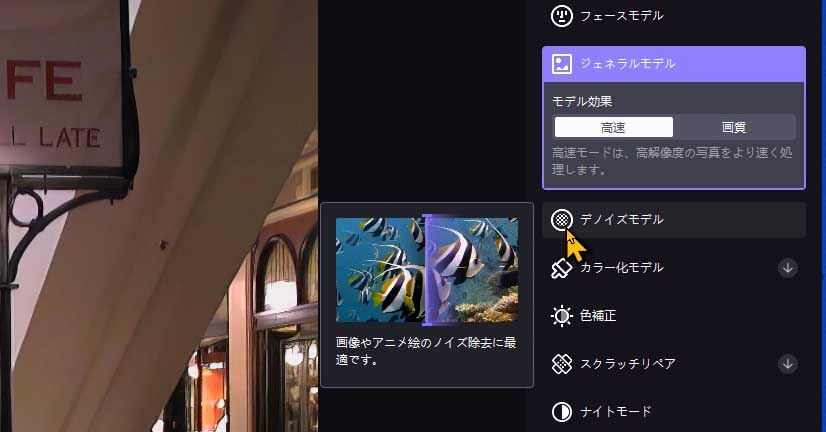
画像やアニメのノイズ除去に適したモデルです
輪郭がぼやけた画像や、一部が霞んで見える画像は、特定の技術で鮮明さを回復させます。
カラー化モデル
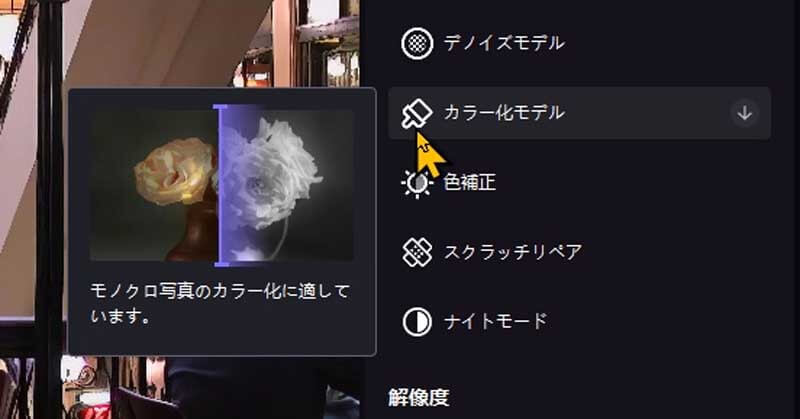
モノクロ写真のカラー化に適したモデルです
白黒写真に色を付けることができるモードです
色が塗られていない部分などの場所などのも、AI技術を用いて解決できます。AIは蓄積されたデータを解析し、それらの問題に対して最適な修正方法を導き出します。
色補正

露出不足・彩色不足の画像に最適です
スクラッチリペア

傷のある写真を修復
ナイトモード
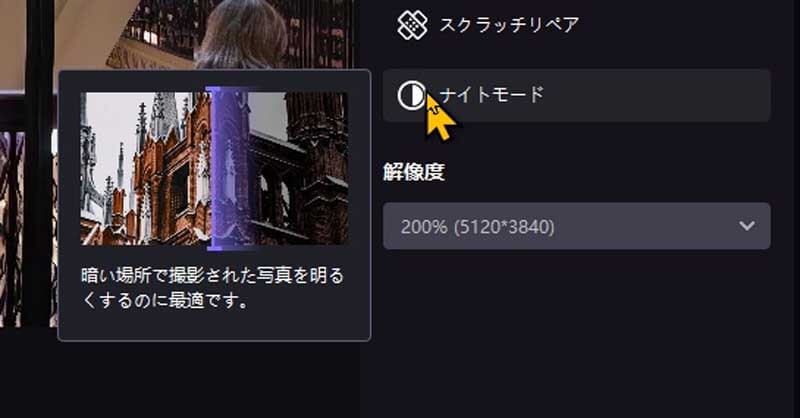
暗い場所で撮影された写真を明るくする
出力される画像の倍率を設定 (アップスケール)
画面右側の解像度のところで倍率を指定できます
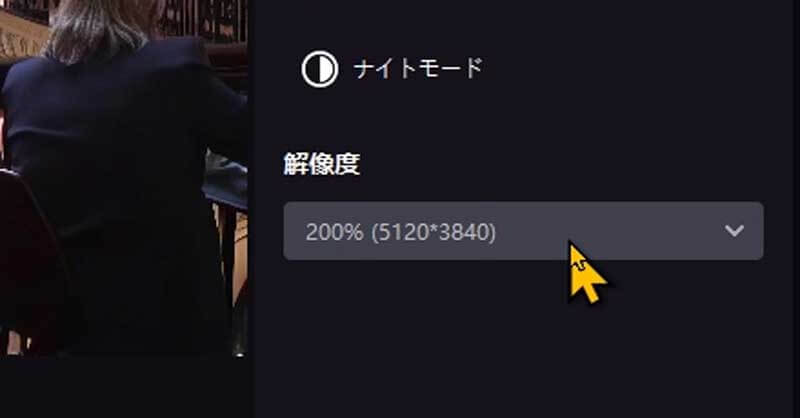
100% 200% 400% 800% カスタマイズとバリエーションがあります
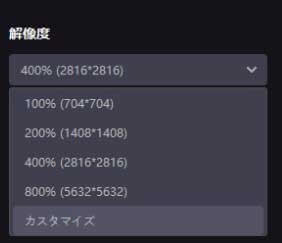
かなり大きく解像度を上げることができますね
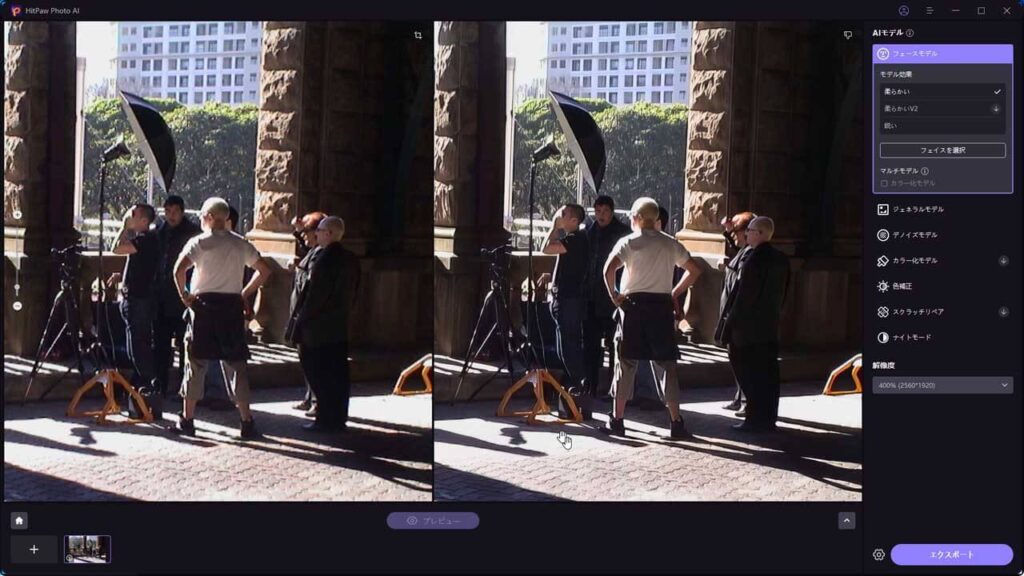
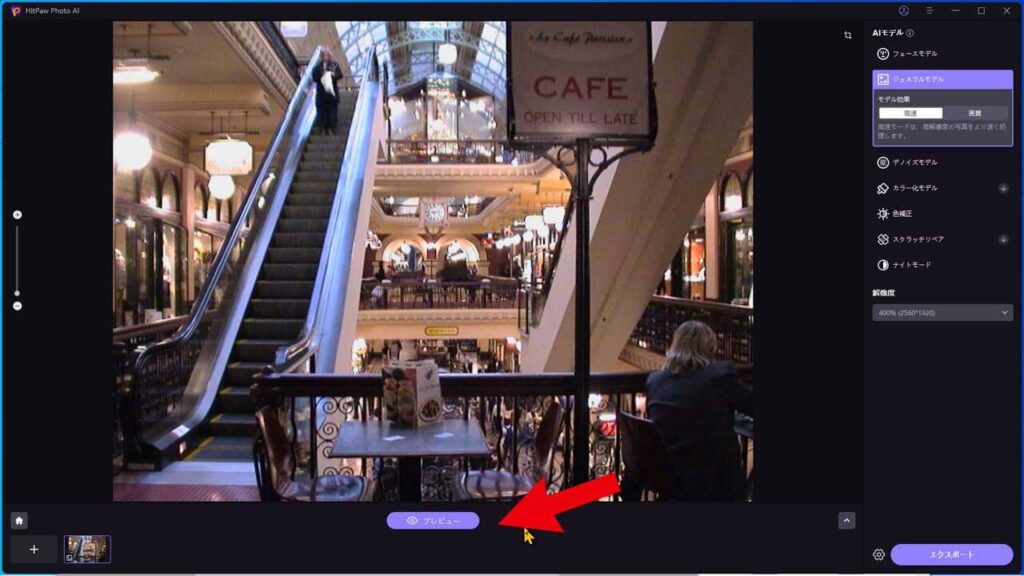
プレビューして画質を確かめてみよう
補正したい画像ファイルを読み込み、AIモデルを選択したら、【プレビュー】をクリックしましょう

 みけねこまる
キレイにプレビューされたのだ
くっきり、はっきり透明感が出ましたね
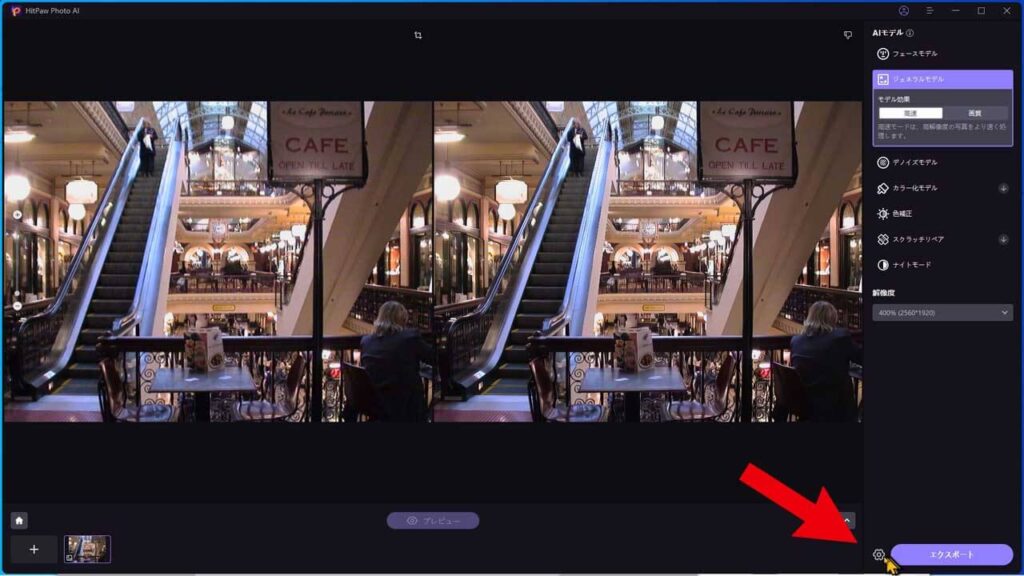
出力・エクスポートの設定
このまま出力・エクスポートすることができます。
保存場所などを指定しておいた方が分かりやすいので、設定しておきましょう
画面右下の歯車マークをクリックしてください
コチラのウインドウが開きます

パフォーマンスや、保存オプションを設定することができます
パフォーマンスでは以下のことを設定できます
- 使用するグラフィックボードを選択
- 同時処理最大数
- アクセルモード:処理の速度を速めるモードが選択できます
保存オプションでは、出力先のフォルダや、入出力のファイル形式を選べますよ
保存先のプルダウンメニューから、参照をクリックすると好きな場所に出力できます
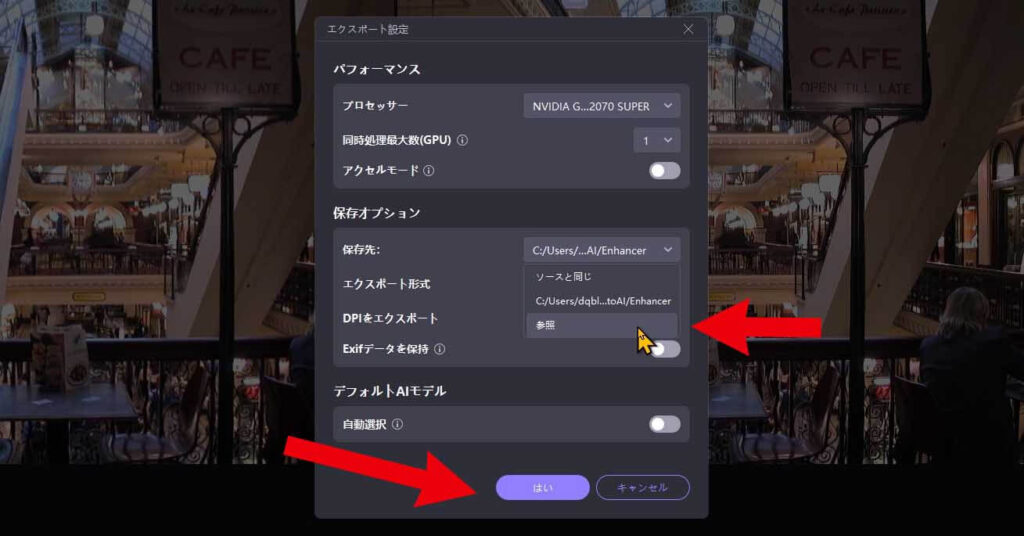
変更後は【はい】をクリックすれば設定保存されます
出力・エクスポートしよう
最後に出力します
画面右下にある【エクスポート】をクリックしてね
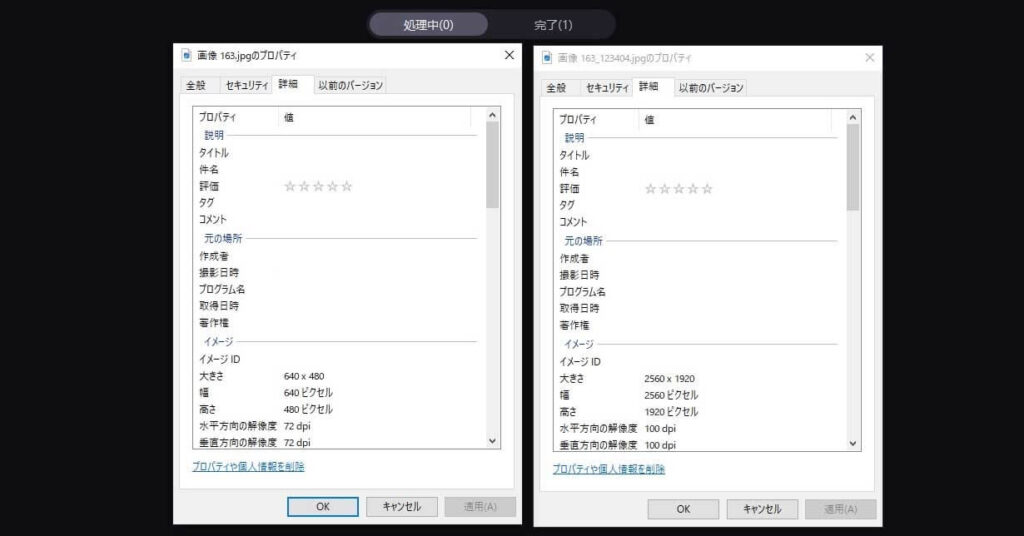
画質も綺麗になりましたが、解像度がかなり上がっていますね
解像度を400%を選択しましたので、4倍のアップスケールされています
 みけねこまる
これは本当にすごいのだ
スマホで見ている方は、分かりにくいと思うので、HitPaw Photo AI公式サイト上でデモを使えるので試してみてね
HitPaw FotorPeaの購入
製品に関する詳細は、公式サイトでも確認できます。
HitPaw FotorPeaには、無料版・有料サブスク版・買い切り版(永久ライセンス)があります。
無料版は有料版と比べて、変換後の画像の出力(エクスポート)ができません。
無料版では全く出力できないのは淋しいところですが、無料版で試して良ければ有料版のライセンスを購入してもいいですね
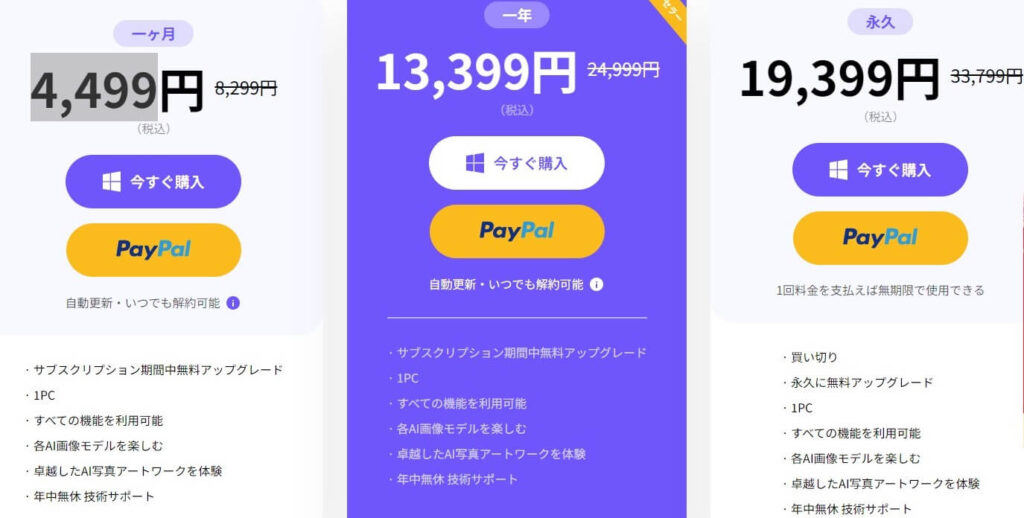
有料版のライセンスには、以下の3種類が用意されています。
- ・一ヶ月ライセンス(1ヶ月間利用可能)
- ・一年ライセンス(1年間利用可能)
- ・永久ライセンス(事実上の買い切り版)
※Windows版とMac版で価格は異なりますので、料金の違いは、HitPaw FotorPea公式サイトでご確認お願いします
サブスクが嫌いな人もいるので、永久ライセンス(買い切り版)があるのがいいですよね
買い切り版でも無償アップデートが付いている所もステキね
実際の価格は、変動もあるかもしれないので下記の公式サイトで確認してください。
HitPaw FotorPea製品ページ
https://www.hitpaw.jp/photo-ai.html
対応する画像フォーマット
入力可能な画像フォーマット
*.png *.jpg *.jpeg *.WebP *.tif *.tga *.bmp *.jfif
出力可能な画像フォーマット
*.png *.jpg *.jpeg *.WebP *.tif *.tga *.bmp *.jfif