
今日は、SWELLのカスタマイズ サイト全体設定にあるお知らせバーの各種設定を解説していきます

お知らせバーって何かな?
お知らせバーは、画面上部にこの様なバーを表示できます
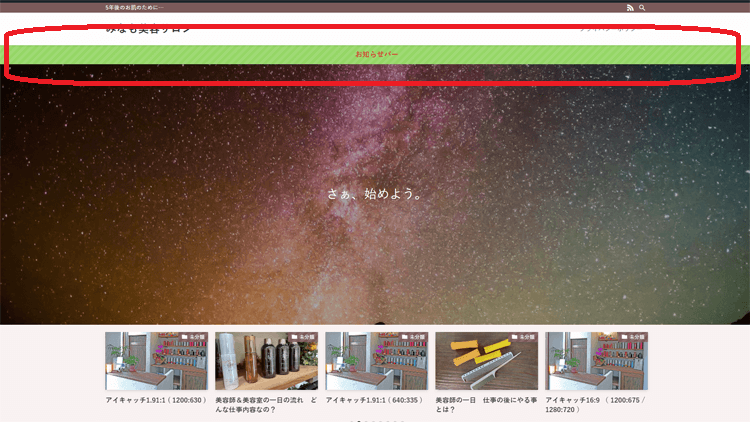
SWELLでは、画面上部に速報や大切な情報などを分かりやすく通知をする事ができる「お知らせバー」という機能があります
お知らせバーは、情報を表示するだけでなくく、文字色や背景などをかえたり、動きを付けたりすることが可能です

今回の記事を読むと、お知らせバーのコチラの設定を理解することが出来ます
- お知らせバーの表示位置
- 表示する内容・デザインの設定
- 背景効果の設定
- カラー設定
お知らせバーに関連するSWELL公式ページや、アップデートで変更になる場合の、最新の詳細の情報などは、コチラがSWELL公式サイトのページになりますので参考にしてくださいね
【SWELL公式ページ】お知らせバーの設定方法【SWELLカスタマイズ】サイト全体設定方法/お知らせバーやり方
では、お知らせバーの設定を実演解説していきますね
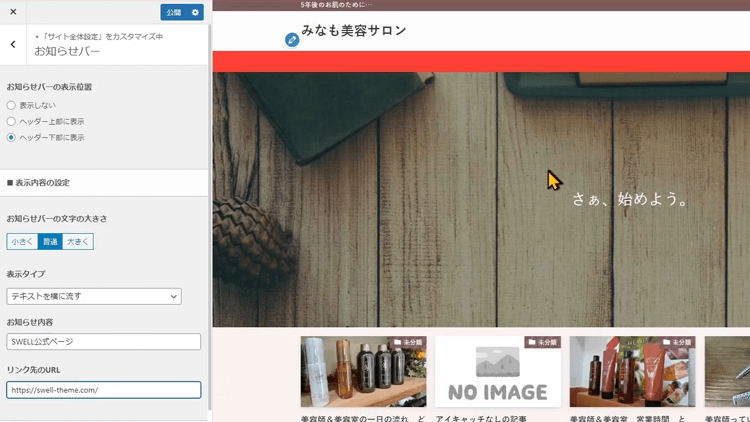
まずは、お知らせバーの表示位置ですが、現在は表示しないになっていますので、お知らせバーが表示されていません。
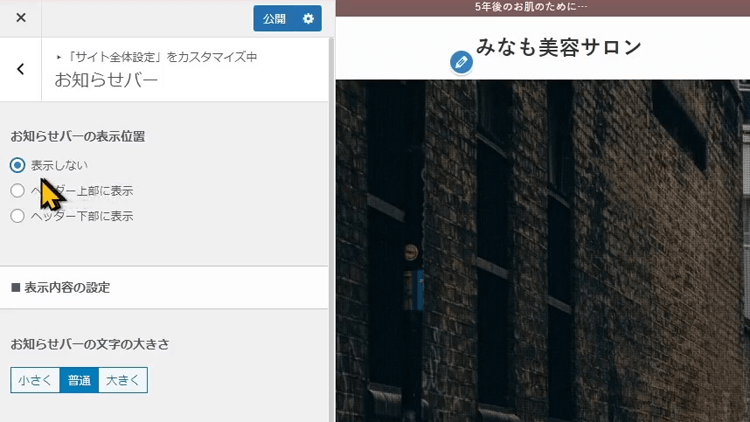
ですので、 ヘッダー上部に表示のほうに、クリックしましてラジオボタンを移動させてください
そうしますと、この様に新しい表示領域が増えました
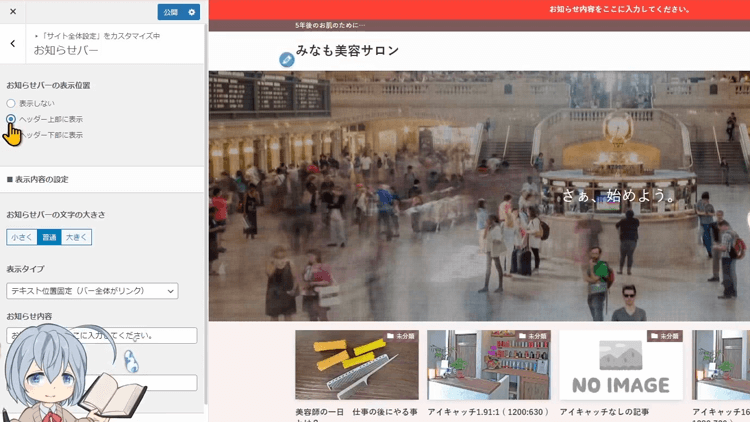
コチラが、お知らせバーとなりますね
お知らせバーの表示位置を、ヘッダー下部に表示の方にしますと こちらの位置に変わります
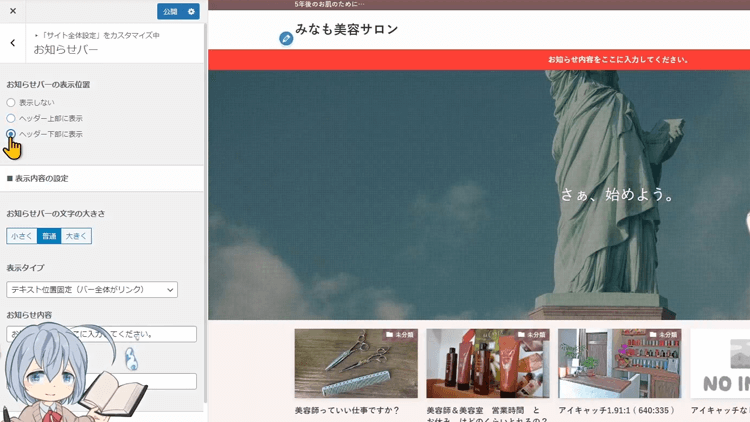
ヘッダーの上か下に設置できるんだね
表示内容の設定
表示内容の設定の項目を解説していきますね
お知らせバーの文字の大きさ
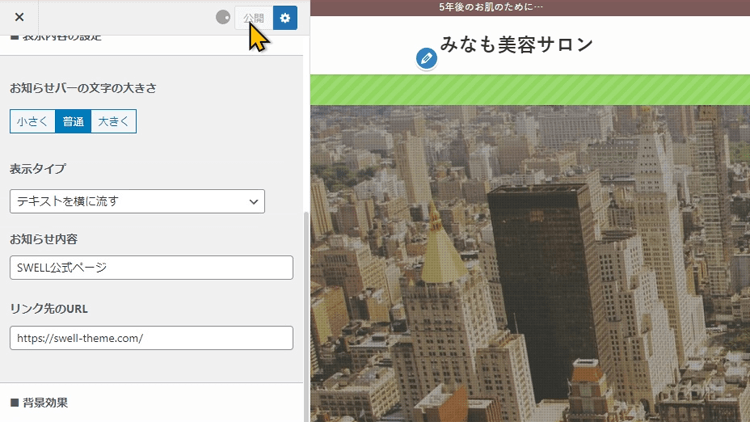
まずはお知らせバーの文字の大きさを設定していきます
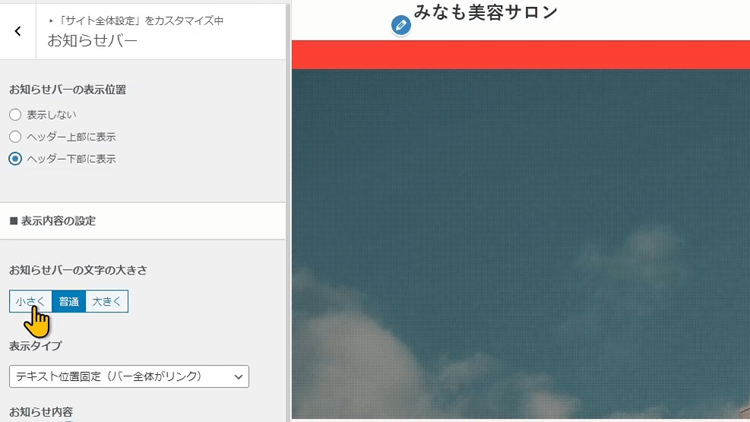
小さく 普通 大きく の3つのタイプから選ぶことが出来ますね
基本的には、普通でいいと思いますが、自分が取り組むジャンルの、想定する読者に合わせて変えるといいですね
表示タイプ
表示タイプを見て見ましょう
お知らせバーは、大切な情報を伝えるだけでなく、リンクも付けることが可能です
この設定では、次の通り全部で3つのなかから選択することが出来ます
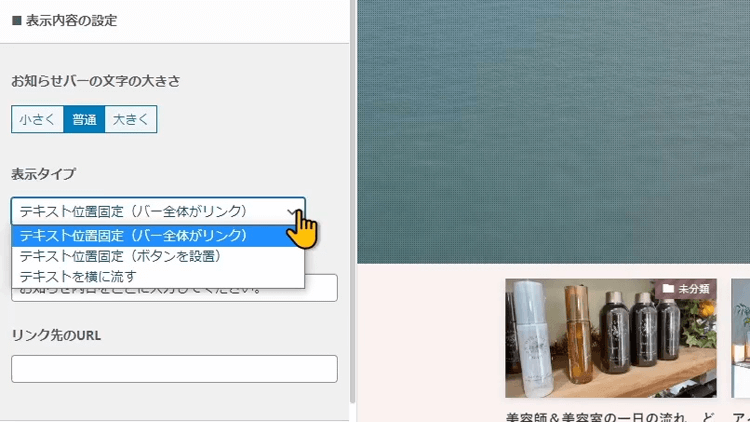
デフォルトでは、テキスト位置固定になっていていますね
文字は動きはなく、お知らせバー全体がリンクとなっています
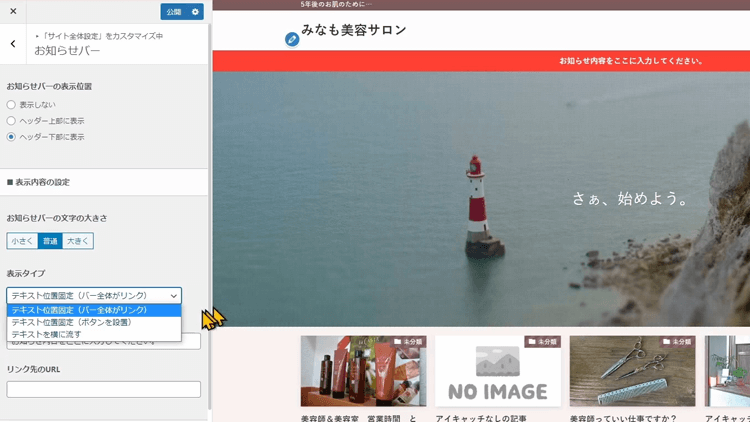
クリックできる代わりにボタンは表示されません。
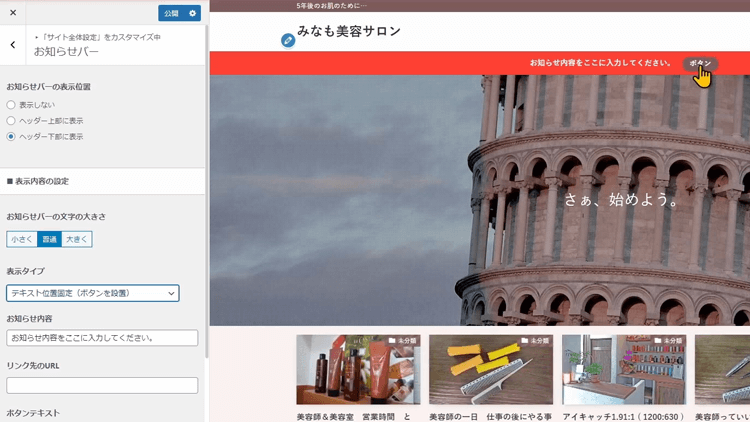
2つ目のテキスト位置固定ボタンを設置では、文字に動きがなく、この様にボタンが現れます
ボタンの場所だけがリンクとなりまして、お知らせバー全体はリンクではなくなります
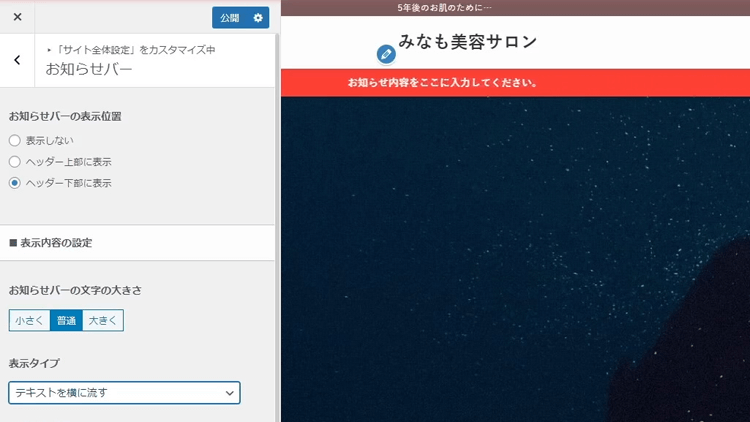
3つ目にテキストを横に流すですが、こちらはテキストが画面右から左へ流れていくような表示になります。
お知らせバー全体がリンクとなっています。ボタンは表示されません
ブログもYouTubeも運営している私の考えですが、人は動きのあるものを追ったり、4秒以上動きのないものから離脱しやすい法則から考えると、動きを付けるというのは、良い効果をもたらすと思います
確かに、テレビもYouTubeも、生配信されている方も、モーションテロップや、テキストスクロールを画面に入れてる方増えてるかも
ただ、ブログの場合は動きを付けると、画面がうるさくなったり、処理が重くなるので、他とのバランスも見ながら進めるといいですね
お知らせ内容
お知らせ内容の所では、お知らせバーに表示するテキストを設定することが出来ます
下の枠の所に、表示させたい文字を入力してくださいね
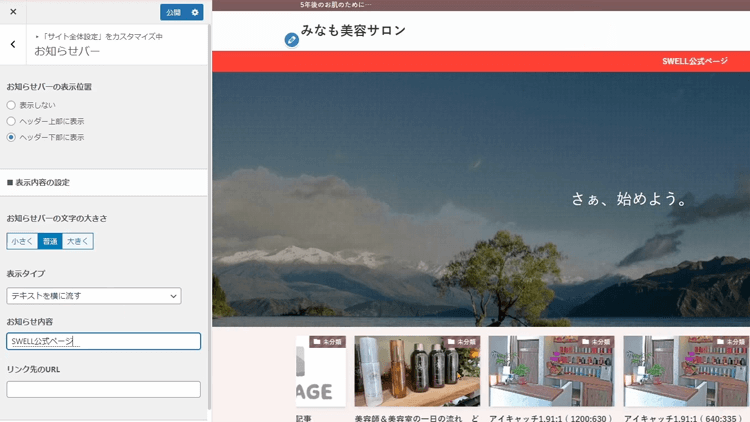
このような感じですね
リンク先のURL
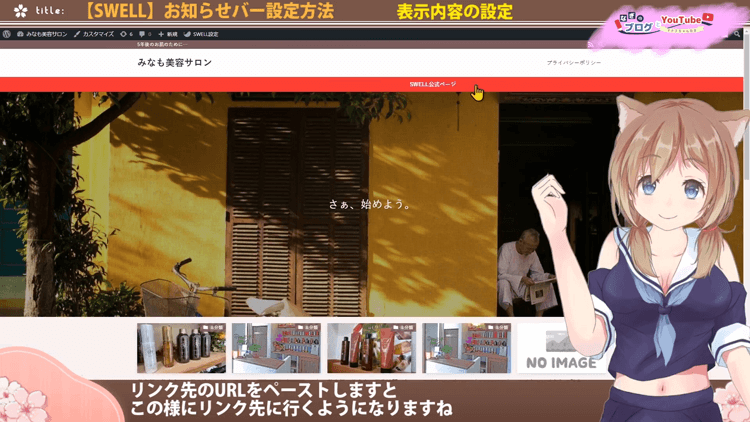
リンク先のURLの所でお知らせバーのリンク先を設定しましょう
リンク先のURLを記載してみます
これで、リンク先に行くようになりますね
背景効果
次の項目 背景効果を解説します
お知らせバーの背景効果でお知らせバーの背景色を単色ではなくに効果を付けることが出来ます
この設定では、次の通り全部で3つのなかから選択することが出来ますね
効果なし グラデーション 斜めストライプ、となります
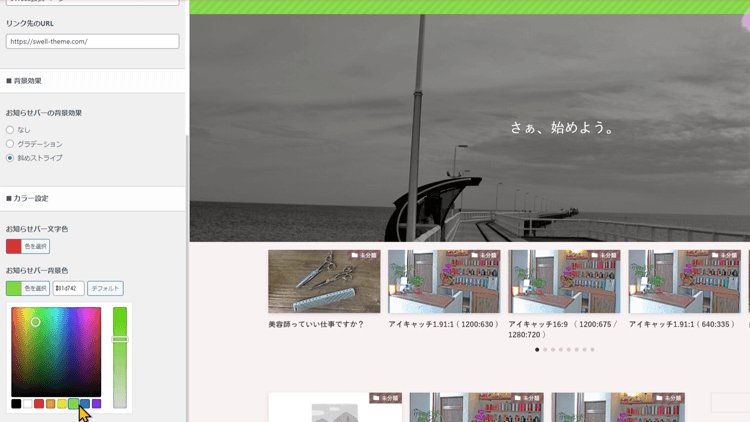
グラデーションにしてみますね
右の方が薄く 左が濃くなったね
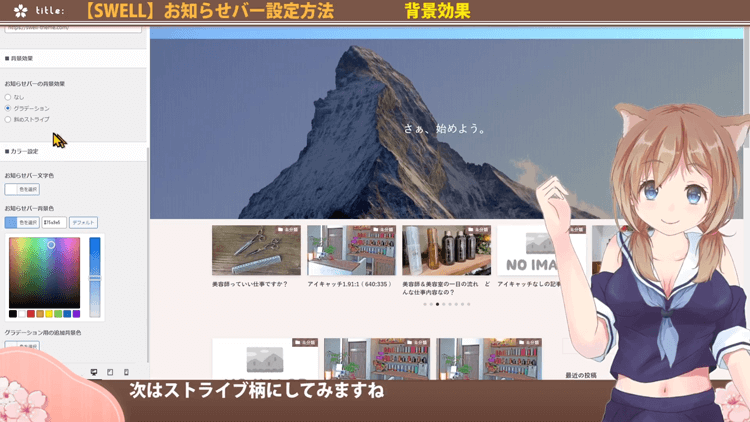
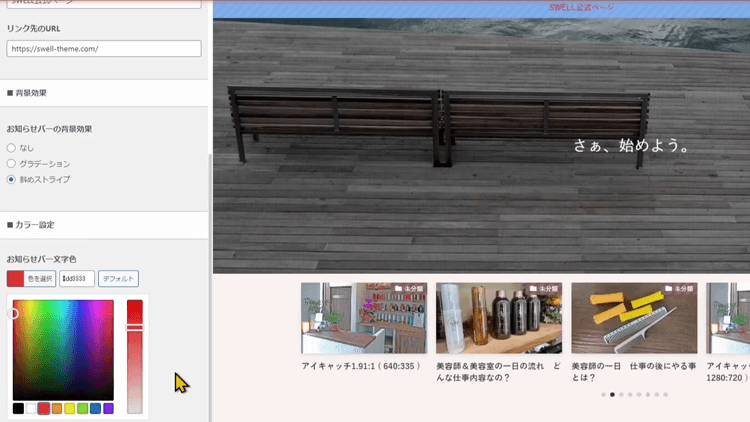
次はストライブ柄にしてみますね
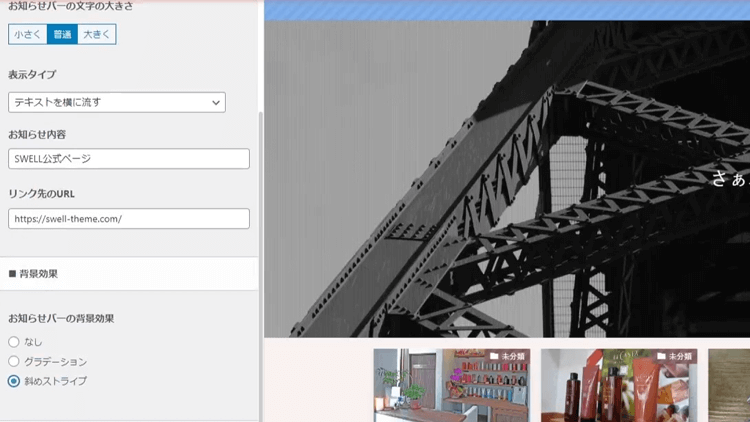
しましまになったね
カラー設定
次はカラー設定です
この項目では、文字色と、先ほどもやってみたように背景色を変えれます
まずは、文字色ですがお知らせバー文字色の所で色を選択できますので、お好みで選択してみてください
お知らせバー背景色の所でも同じように整えていきます
配色できる場所が増えてきたので、計画的にやって行かないと、統一感がなくなっちゃうわね
そんな時には、コチラの動画の中で、簡単にセンスある配色が出来る方法について語っているので見てもらえると嬉しいわ

全ての設定が終わりましたら、カスタマイズを離れる前に、公開をしておきましょう
今日はお知らせバーの設定方法でした
現在、SWELLを中心にWordPressやマーケティングに関した動画を上げています。
既に、投稿されている動画は、動画説明欄に再生リストや各動画につながるリンクのリストになっていますのでSWELLの使い方に迷った時には、見て頂けると嬉しいです
【SWELLカスタマイズ】
サイト全体設定
最後まで見て頂きまして、ありがとうございました
【動画】お知らせバー設定方法
興味ありましたら、チャンネル登録 高評価して頂けると嬉しいです
見てもらえる人が増えると、動画制作のモチベーションが上がります