![](https://nagi.blog/wp-content/uploads/2022/03/e83fa52eac00d47020c79e84425066c0-150x150.jpg)
今回は【SWELLカスタマイズ】wordpress設定の設定について解説していきます
![](https://nagi.blog/wp-content/uploads/2022/03/975429aa9a80f4f9bc5ca68a5e46d0cf-150x150.png)
今回の記事では、WordPress設定のやり方と、使い道が分かります。
![](https://nagi.blog/wp-content/uploads/2022/03/975429aa9a80f4f9bc5ca68a5e46d0cf-150x150.png)
SEO対策でも重要な項目ですので、【読んでもらえるブログ】を作れるようになります
SWELLカスタマイズ/WordPress設定で出来る事
![](https://nagi.blog/wp-content/uploads/2022/03/e83fa52eac00d47020c79e84425066c0-150x150.jpg)
デフォルトの状態でも、既にスタイリッシュなSWELLデザインですが、自分のオリジナリティあるデザインにしたいと、思いますよね?
このカスタマイズの項目は、SWELLの多くのデザインや、SEOに関わる設定などもしていけます。
![](https://nagi.blog/wp-content/uploads/2022/03/49ef664720433fb37002b605195c5e9b-150x150.png)
カスタマイズで、デザインからSEO対策まで出来ちゃうんだね
カスタマイズの設定の解説の間にも、効果的なSEO対策、SXO対策を盛り込める項目がありますので、SEOなどの情報も、合間に語らさせていただきますね
![](https://nagi.blog/wp-content/uploads/2022/03/e83fa52eac00d47020c79e84425066c0-150x150.jpg)
このカスタマイズ設定の記事のシリーズを見れば、SWELLのデザインと、効果的なSEO対策を設定していけるようになります。
SWELLカスタマイズ/WordPress設定手順
![](https://nagi.blog/wp-content/uploads/2022/03/e83fa52eac00d47020c79e84425066c0-150x150.jpg)
では、実演しながら解説していきます
~サイト基本情報~
ダッシュボードの方から、外観にあるカスタマイズを、クリックしてください
![](https://nagi.blog/wp-content/uploads/2022/06/aa975effa4556f8a61ae33b633cfdc84.png)
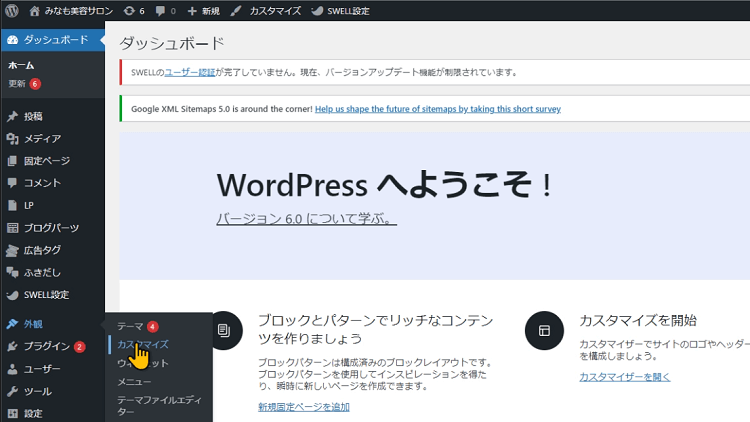
コチラのカスタマイズの画面が開きましたら、WordPress設定をクリック
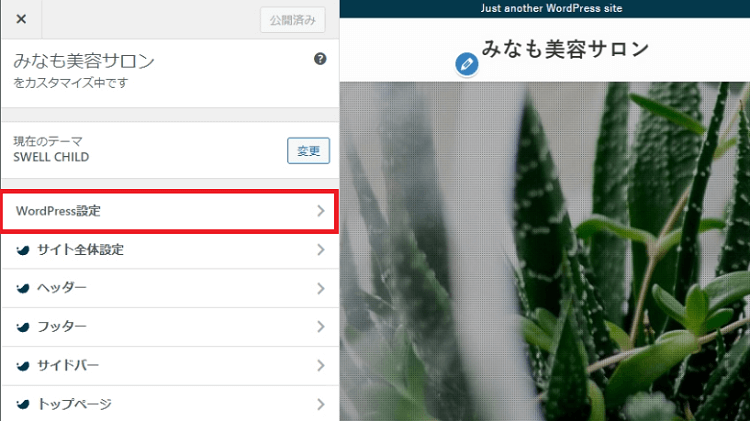
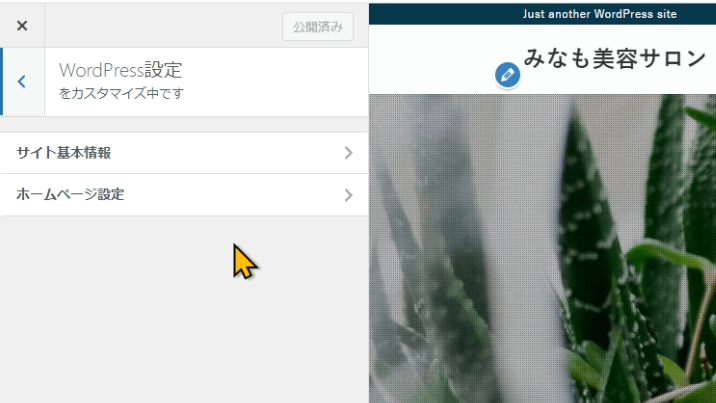
![](https://nagi.blog/wp-content/uploads/2022/06/02949564e3852399c5604be63ef3e895.png)
WordPress設定が開きます
![](https://nagi.blog/wp-content/uploads/2022/03/e83fa52eac00d47020c79e84425066c0-150x150.jpg)
コチラでは、サイト基本情報の操作と、ホームページ設定を行うことが出来ます
まずは、サイト基本情報からご説明させて頂きますので、サイト基本情報をクリックしてください
![](https://nagi.blog/wp-content/uploads/2022/06/552f60521e1ca3e5e604d749efb4b36b.png)
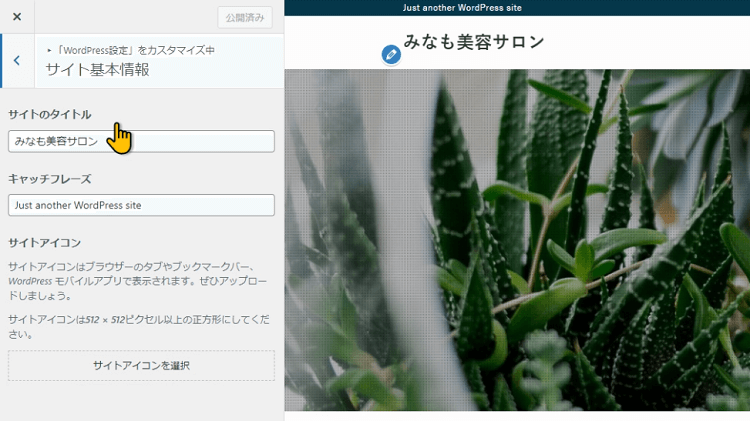
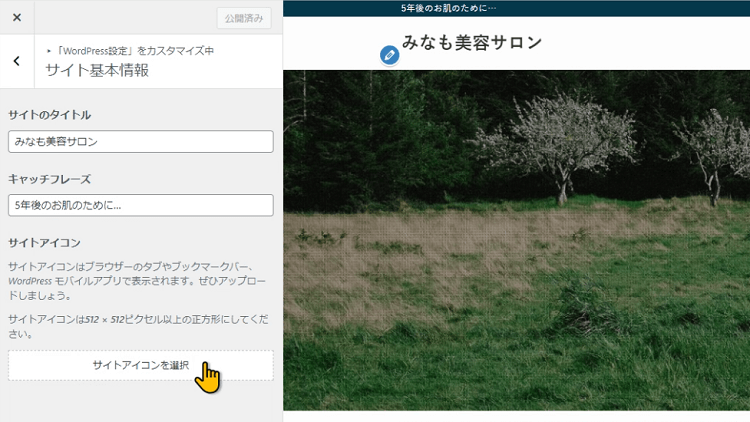
そうしますと、サイト基本情報画面が開きます、こちらでサイトタイトル キャッチフレーズ サイトアイコンを設定していけます
サイトタイトル
まずはサイトタイトルですが、コチラは入力するだけになります
![](https://nagi.blog/wp-content/uploads/2022/06/c430b5c8e831b50883218bbdd428d19c.png)
因みに、サイトのタイトルや、キャッチフレーズはダッシュボードから設定の場所からも設定することが出来ます
![](https://nagi.blog/wp-content/uploads/2022/06/7eccd29488227fc87e57e1b7d00342db.png)
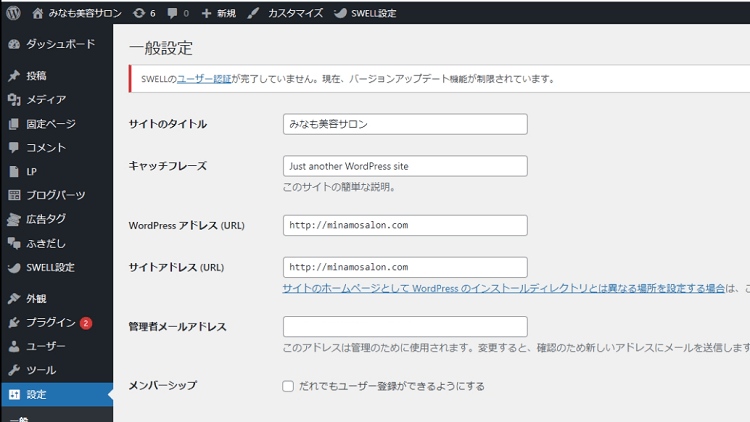
サイト名はいつでもコチラで変えることは出来ますが、SEOにも大きく関わってくる所ではありますので、事実上は変えれない事になりますので、記事を書き始まるまでによく考えて付けるといいですね
![](https://nagi.blog/wp-content/uploads/2022/03/e83fa52eac00d47020c79e84425066c0-150x150.jpg)
因みに、わたしは、こちらの10の事を気を付けてサイトのタイトルを付けています
- サイトのイメージを伝えられているか?
- 言葉の響き
- ひたしみやすさ
- 短過ぎず、長すぎず(10文字くらい)
- 長い名前の場合、短縮系は成り立つか?
- 狙うキーワードが入っているか?
- 指名検索で検索1位になれそうか?
- 商標登録されてなさそうか?
- サイト名に近いドメインがとれるか?(有名のトップレベルドメイン、かつ短い)
- 読み書きしやすい
![](https://nagi.blog/wp-content/uploads/2022/03/e83fa52eac00d47020c79e84425066c0-150x150.jpg)
サイトのタイトル名を考えるための詳しい解説については、専門の記事を書きました
![](https://nagi.blog/wp-content/uploads/2022/06/a331b4e2af31014a18e22d9a2c05df43-300x168.jpg)
キャッチフレーズ
つぎは、キャッチフレーズです。
キャッチフレーズも入力するだけになります
![](https://nagi.blog/wp-content/uploads/2022/06/9bc964f7e5cf8ea2defc65e5efbfd52f.png)
まずは、そもそもキャッチフレーズが何の役に立つのか?
どんなキャッチフレーズにするべきか?
と言う事ですが、WordPressにおけるキャッチフレーズとは、みなさんのサイトの内容や目的、テーマを表わした文章になります。
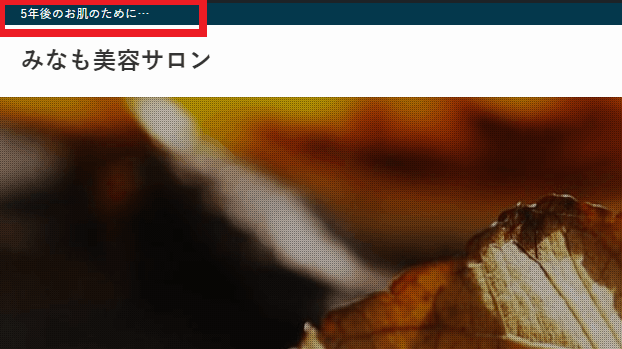
タイトルの近くに表示されるので、イメージやコンセプト、取り扱う情報の内容など、視聴者に印象を与える効果があります
![](https://nagi.blog/wp-content/uploads/2022/06/e03d4fe2894332dfec6317b632c89460.png)
また、キャッチフレーズもSEOに影響してきますのでキーワードを意識したほうがいいですね。
まとめますとこのような感じになります
- キーワードを入れる
- 内容を印象を与えられるようなものにする
- キャッチフレーズ自体も印象に残せるようにする
- タイトルとの関連性を持たせる
- 適度な長さ
- あえて空欄
![](https://nagi.blog/wp-content/uploads/2022/03/49ef664720433fb37002b605195c5e9b-150x150.png)
あえて空欄?
![](https://nagi.blog/wp-content/uploads/2022/03/e83fa52eac00d47020c79e84425066c0-150x150.jpg)
そうですね、ちょっと難しい話なんですが、「SEOに影響がある」と聞くとやった方がいいようなイメージありますが、必ずしもいい方に転がるとは限りません。
人によってはいい方向になる場合もあれば、人によって悪い方向になる場合があるので、必ずしも入れなくてはいけないものではないですね
それぞれのサイトで分析が必要になります
![](https://nagi.blog/wp-content/uploads/2022/03/49ef664720433fb37002b605195c5e9b-150x150.png)
やややこしい
![](https://nagi.blog/wp-content/uploads/2022/03/e83fa52eac00d47020c79e84425066c0-150x150.jpg)
私はいつも入れてますが、タイトルやサイトの内容をイメージするような言葉をきちんと選んだ方がいいね
サイトアイコン
次は、サイトアイコンになります
![](https://nagi.blog/wp-content/uploads/2022/06/1a524334fd40b71f7091c4e1025c6efa.png)
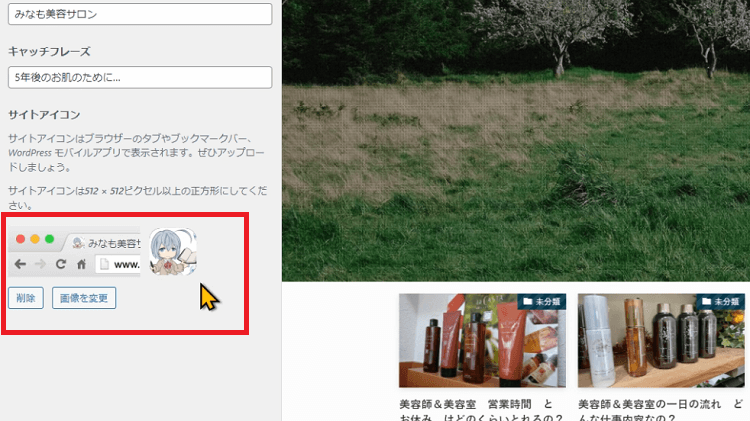
サイトアイコンとは、画面上部のサイト名の前に表示される画像になります
![](https://nagi.blog/wp-content/uploads/2022/06/22bf0ceb788a1273f8ff1a81e999bbf7.png)
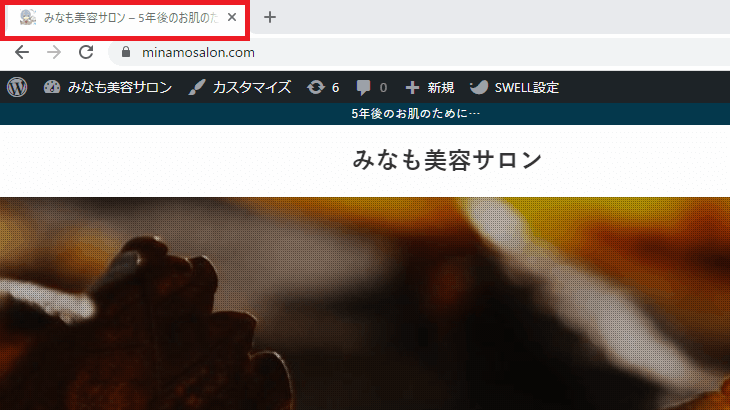
また、ブックマークした時にも、サイト名の前に画像がでますね
![](https://nagi.blog/wp-content/uploads/2022/06/3c68388bb1b3bec09d1280f68e2225bb.png)
![](https://nagi.blog/wp-content/uploads/2022/03/e83fa52eac00d47020c79e84425066c0-150x150.jpg)
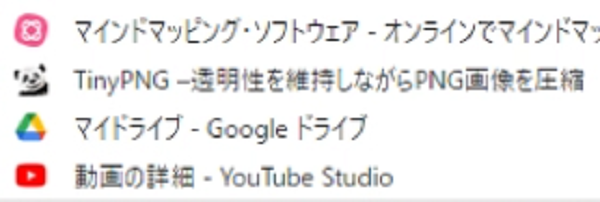
別な名称として、ファビコンとも呼ばれたりします
![](https://nagi.blog/wp-content/uploads/2022/03/49ef664720433fb37002b605195c5e9b-150x150.png)
画像があった方が見やすいね
サイトアイコンの画像も、サイトのイメージに合ったものを選ぶといいですね
![](https://nagi.blog/wp-content/uploads/2022/03/e83fa52eac00d47020c79e84425066c0-150x150.jpg)
では、設定してみますね
サイトアイコンは、こちらに書いてあるように、サイトアイコンは512 × 512ピクセル以上の正方形にしてください。となりまして、このサイズ以上の画像を用意してください。
下の、【サイトアイコンを選択】をクリックして、画像を選択していきましょう
![](https://nagi.blog/wp-content/uploads/2022/06/1a524334fd40b71f7091c4e1025c6efa.png)
大きい分には後ほどカットして使えます
![](https://nagi.blog/wp-content/uploads/2022/06/6522f96559967dc00bec7d5b2396d409.png)
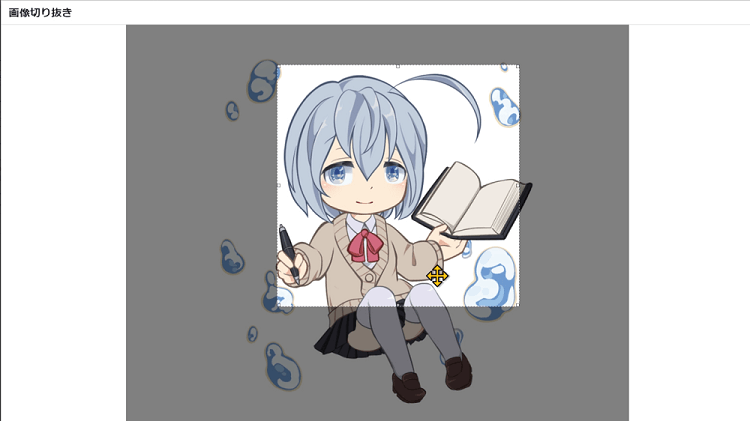
選択しますとしますと、こちらにイメージがプレビューされます
![](https://nagi.blog/wp-content/uploads/2022/06/05b6e198daceb192af8512f9a3962c59.png)
これで、一旦、上の公開をクリックして、公開しましょう
公開しないで、カスタマイズを離れてしまうと、設定した内容が保存されてないので気を付けてくださいね
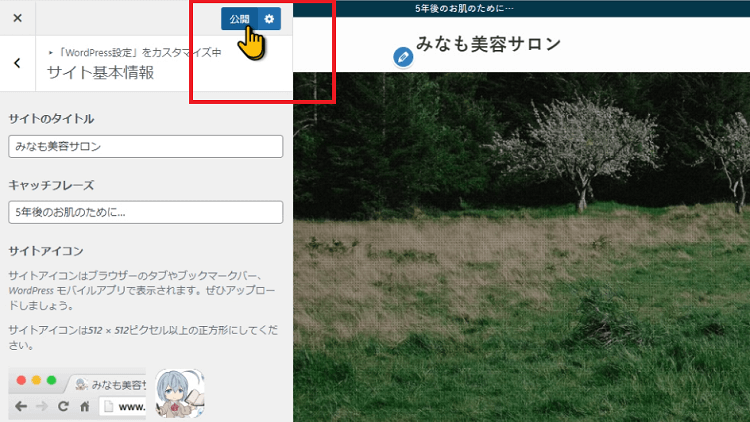
![](https://nagi.blog/wp-content/uploads/2022/06/25afc11164135447853ee66c39e86c38.png)
![](https://nagi.blog/wp-content/uploads/2022/03/e83fa52eac00d47020c79e84425066c0-150x150.jpg)
では、確認してみますね
設定した、画像が反映されていると思います
![](https://nagi.blog/wp-content/uploads/2022/06/22bf0ceb788a1273f8ff1a81e999bbf7.png)
次は、ホームページ設定の方の解説をしていきますね
~ホームページ設定~
つぎは、ホームページ設定の方を解説していきますね
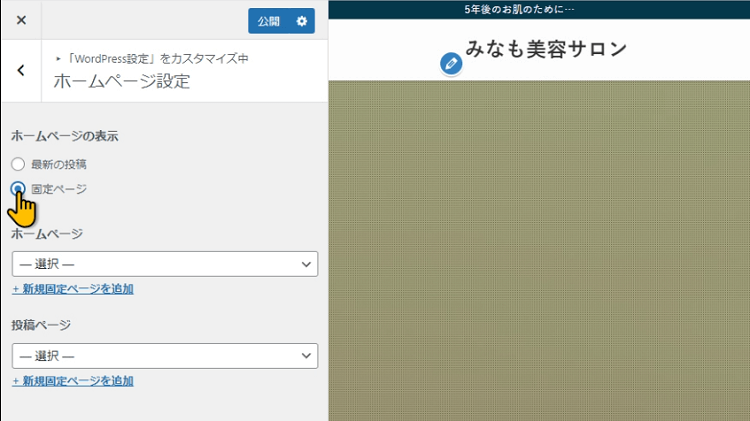
サイト基本情報から、一階層戻りまして、WordPress設定の画面から、ホームページ設定の方をクリックしてください
![](https://nagi.blog/wp-content/uploads/2022/06/552f60521e1ca3e5e604d749efb4b36b.png)
ホームページの表示の項目がありまして、2つの選択が出来る様になっています
最新の投稿
うえの最新の投稿では、一般的なブログサイトの構造になります
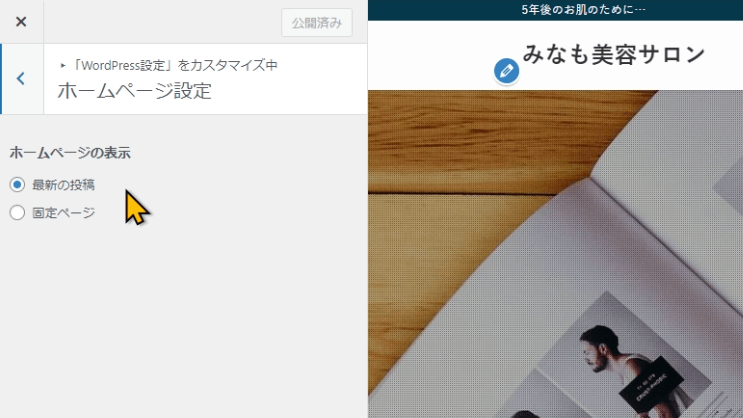
![](https://nagi.blog/wp-content/uploads/2022/06/fd1f046adcb83729b591df9353d732f5.png)
固定ページ
下の固定ページを選択すると、特定のページをトップページに持ってきたり、サイト型の構造の様に作って行けます
![](https://nagi.blog/wp-content/uploads/2022/06/26f3c12e01493a65b80b7643b64db198.png)
![](https://nagi.blog/wp-content/uploads/2022/03/e83fa52eac00d47020c79e84425066c0-150x150.jpg)
試しにやってみますね
ホームページの欄の所にある選択項目から、任意のページを選択しますと、トップページがその選択した記事に反映されます
右側にプレビューされましたね
![](https://nagi.blog/wp-content/uploads/2022/06/cfd6034efe0f7b5dcef8265177c39e54.png)
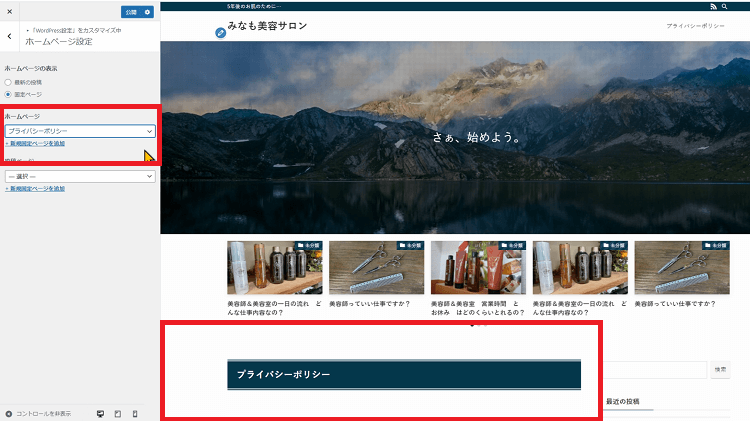
このような感じにトップページに任意のページをもってくることができます
![](https://nagi.blog/wp-content/uploads/2022/03/e83fa52eac00d47020c79e84425066c0-150x150.jpg)
ホームページの方の設定をいったん戻しまして、次の投稿ページの方をやってみますね
投稿ページの方では、選択したページに、最新の投稿の一覧を付け加えたりできるようになります
このような感じになりますね
![](https://nagi.blog/wp-content/uploads/2022/06/a884807169a60cd24911e6b5ccc0b1b3.png)
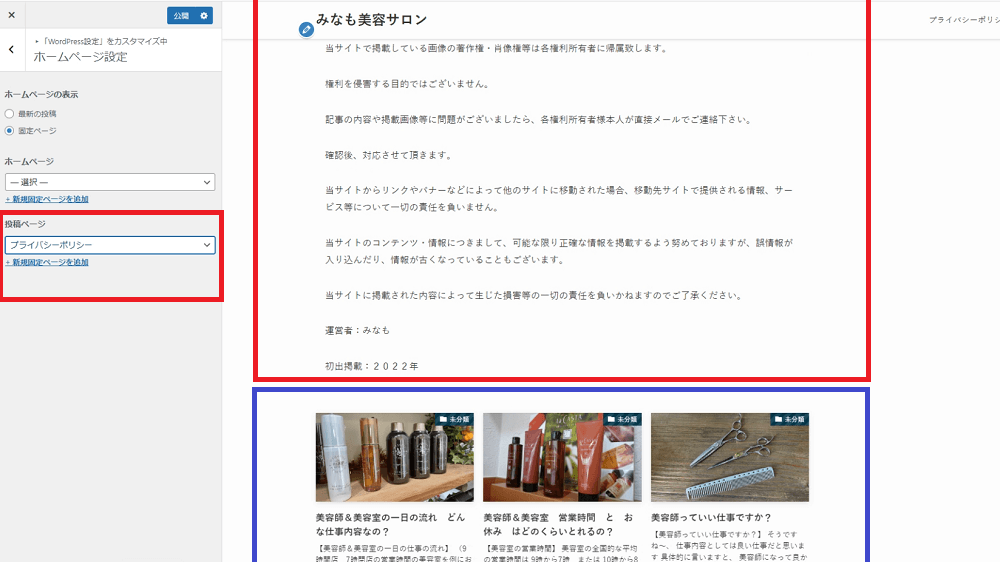
この2つの機能を使っていけば、SWELLを使ってサイト型のWEBサイトを作ることも可能です
![](https://nagi.blog/wp-content/uploads/2022/03/975429aa9a80f4f9bc5ca68a5e46d0cf-150x150.png)
詳しくは、SWELL公式ページの方でも確認してみてくださいね
【動画】とまとめ wordpress設定方法
今日は短い内容でしたが 次の動画では【カスタマイズのサイト全体設定】の項目を解説しますね
その他、SWELLカスタマイズに関して以下の記事を執筆しました
動画の方でもSWELLに関する動画が投稿してたり、サーバーの設定やGoogleアドセンスについての動画も投稿してあります。
![](https://nagi.blog/wp-content/uploads/2022/03/e83fa52eac00d47020c79e84425066c0-150x150.jpg)
今後も投稿を、予定してますので良かったら、チャンネル登録、高評価して頂けると嬉しいです
![](https://nagi.blog/wp-content/uploads/2022/03/49ef664720433fb37002b605195c5e9b-150x150.png)
みなさんの応援が、動画制作のモチベーションになります
![](https://nagi.blog/wp-content/uploads/2022/03/975429aa9a80f4f9bc5ca68a5e46d0cf-150x150.png)
最後まで見て頂きまして、ありがとうございました