ADetailerで、手や顔の修正をしようとするときに、検出され過ぎて過剰に修正が入る時ってありますよね
背景に映る人物を全て検出し、補正してくれるのはありがたいのですが、求めてない範囲の修正を行われて時間がかかり過ぎてしまうこともあります
![](https://nagi.blog/wp-content/uploads/2022/03/e83fa52eac00d47020c79e84425066c0-150x150.jpg)
本記事では、検出する範囲を決めることが出来るADetailerのパラメータのDetectionについて解説していきます
![](https://nagi.blog/wp-content/uploads/2022/03/975429aa9a80f4f9bc5ca68a5e46d0cf-150x150.png)
Detectionパラメータを調節することで、求める箇所だけの修正を自動で行ってくれるようになりますよ
![](https://nagi.blog/wp-content/uploads/2022/03/975429aa9a80f4f9bc5ca68a5e46d0cf-150x150.png)
現在、Stable Diffusionや画像生成AIに関する記事は、以下のものがありますので参考にしてね
![](https://nagi.blog/wp-content/uploads/2023/06/336bcf72aa257afff7a14e3b4fe93eb5-1024x576.jpg)
この記事に、特に関連する記事はコチラ
本記事は、StableDiffusion WebUIの環境構築と、ADetailerのインストールが済んでいることをが前提となっております。
環境構築の型がまだの方は、上記リンクから先にお読みください
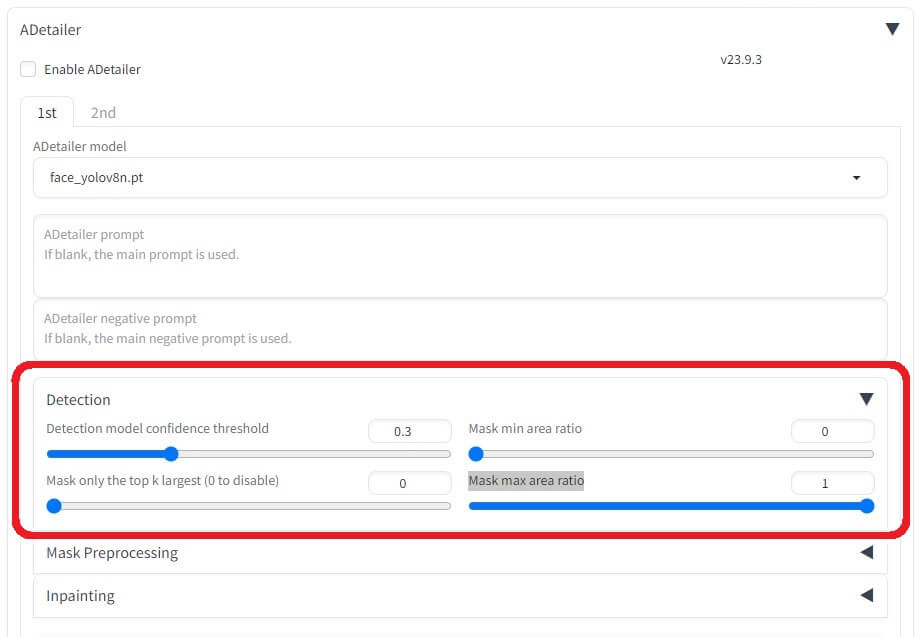
【ADetailer】のDetectionのパラメータ
![](https://nagi.blog/wp-content/uploads/2023/10/ADetailer-Detection1a.jpg)
![](https://nagi.blog/wp-content/uploads/2022/03/e83fa52eac00d47020c79e84425066c0-150x150.jpg)
ADetailerのDetectionで設定できる項目は4つあります
- Detection model confidence threshold
- Mask only the top k largest (0 to disable)
- Mask min area ratio
- Mask max area ratio
![](https://nagi.blog/wp-content/uploads/2022/03/e83fa52eac00d47020c79e84425066c0-150x150.jpg)
それぞれどのような働きを するか見ていきましょう
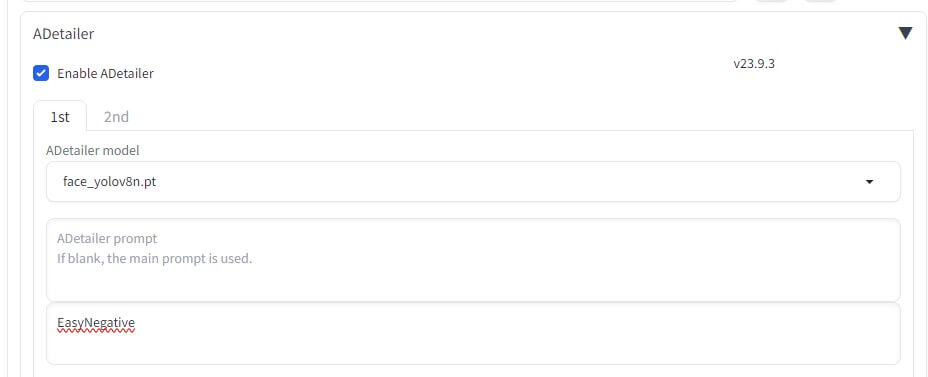
まずは、ADetailerのスイッチオンであるEnable ADetailerにチェックをいれましょう
![](https://nagi.blog/wp-content/uploads/2023/10/ADetailer-Detection3.jpg)
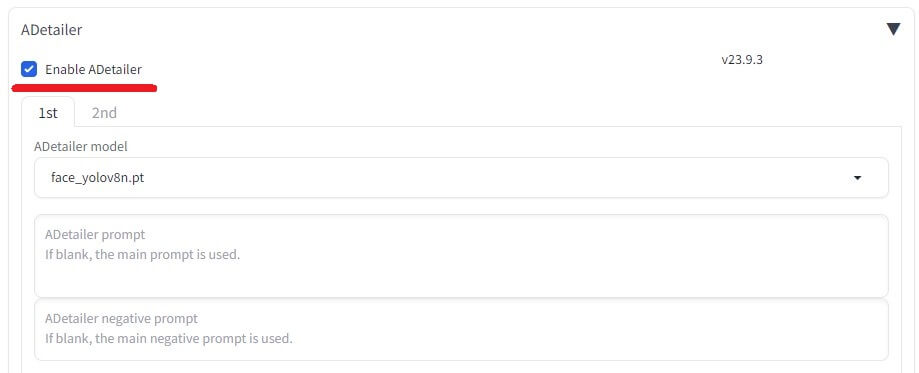
ADetailer modelは顔を補正するので、フェイス yoloV8を選択します
ネガティブプロンプトには、イージーネガティブV2を入れておきます
![](https://nagi.blog/wp-content/uploads/2023/10/ADetailer-Detection4.jpg)
Detectionのところをクリックすると、上記した、4つのパラメータの項目が現れます
![](https://nagi.blog/wp-content/uploads/2023/10/ADetailer-Detection1.jpg)
Detection model confidence threshold 検出モデルの信頼しきい値
Detection model confidence thresholdから説明していきますね
![](https://nagi.blog/wp-content/uploads/2022/03/e83fa52eac00d47020c79e84425066c0-150x150.jpg)
Detection model confidence thresholdは、検出するしきい値となります
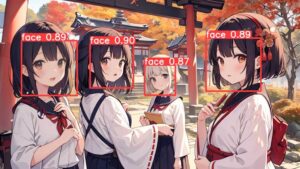
ADetailerで自動検出しますと、対象のエリアにこの様な数字が付きます
![](https://nagi.blog/wp-content/uploads/2023/10/00036-988405081-ad-preview.png)
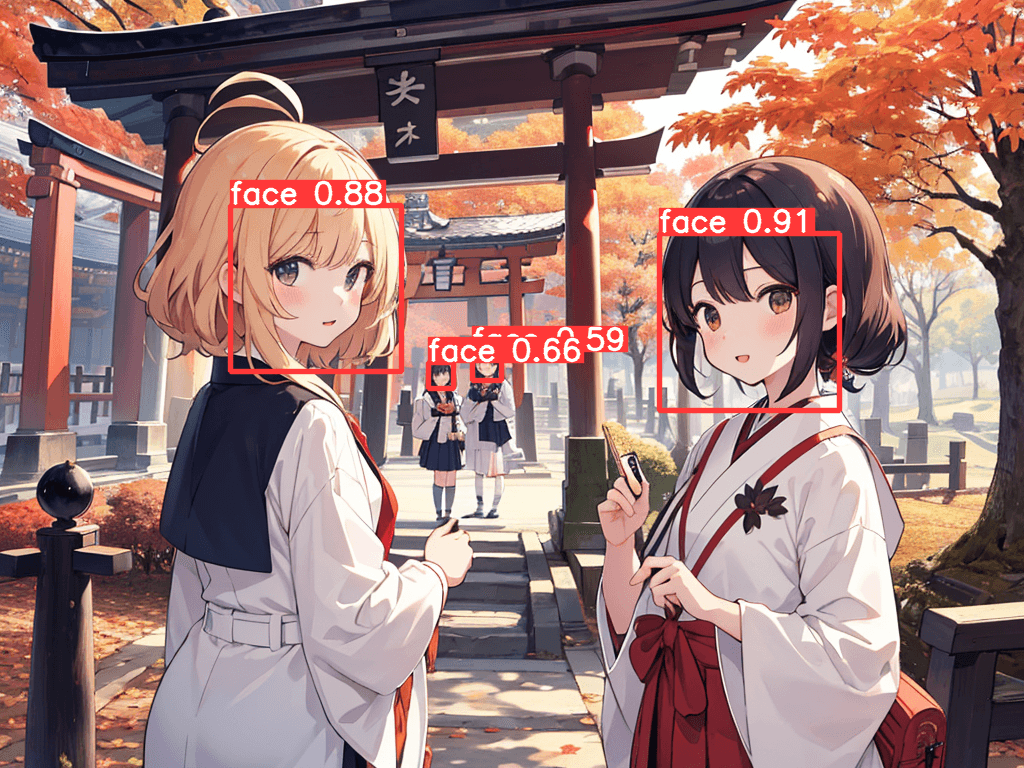
画像に追記された数値は、AIが顔と判断している信頼度となります
![](https://nagi.blog/wp-content/uploads/2022/03/49ef664720433fb37002b605195c5e9b-150x150.png)
高ければ、自信をもって顔だ。低ければ、顔なのかな?ってくらいに検出してるって事だね
![](https://nagi.blog/wp-content/uploads/2022/03/e83fa52eac00d47020c79e84425066c0-150x150.jpg)
人間に例えるとそんな感じだね
Detection model confidence thresholdは、検出する最低ラインを決める数値です
デフォルトでは0.3になっています。
つまり0.3以下の対象は検出されないようにしてあるって事ですね
![](https://nagi.blog/wp-content/uploads/2022/03/e83fa52eac00d47020c79e84425066c0-150x150.jpg)
試しに、0.7にしてみますね
![](https://nagi.blog/wp-content/uploads/2022/03/49ef664720433fb37002b605195c5e9b-150x150.png)
0.66の検出場所が、反応しなくなったね
![](https://nagi.blog/wp-content/uploads/2023/10/ADetailer-Detection-mode2-1024x424.jpg)
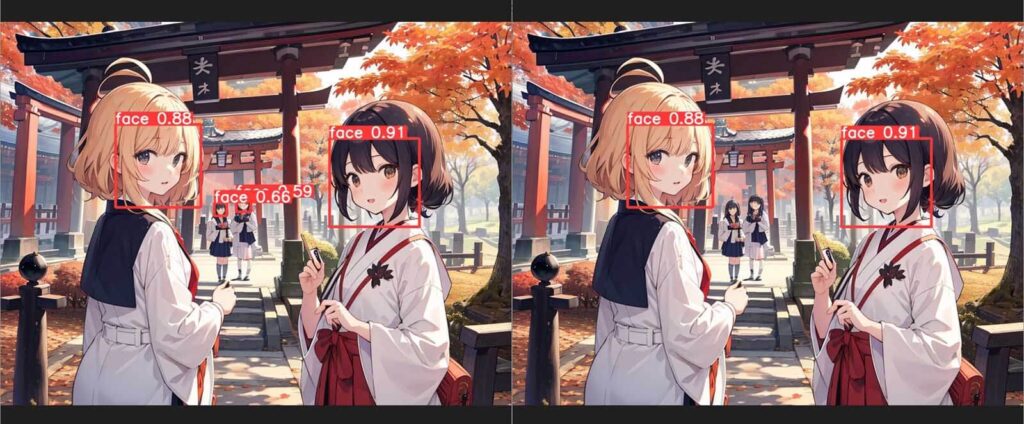
Detection model confidence thresholdを0.3未満にすると、信頼度が低い対象物も顔として検出してしまうので、目的の場所が検出されない時以外には0.3未満にする必要はなさそうです
Mask only the top k largest (0 to disable)
Mask only the top k largestは、入力する数字で「面積が大きいものから何個までを検出するか?」を決めるパラメータです
たとえば、「3」と入力したら、面積が大きい方から3個の対象物だけを検出して、それ以外は検出しないようにできます
例えば、ADetailerプロンプトに、angryと入れて怒らせてみます
Mask only the top k largestをデフォルトのままですと、2人とも怒りました
![](https://nagi.blog/wp-content/uploads/2023/10/00055-988405081.png)
![](https://nagi.blog/wp-content/uploads/2022/03/e83fa52eac00d47020c79e84425066c0-150x150.jpg)
Mask only the top k largestを、1にしてみます
![](https://nagi.blog/wp-content/uploads/2023/10/00057-988405081.png)
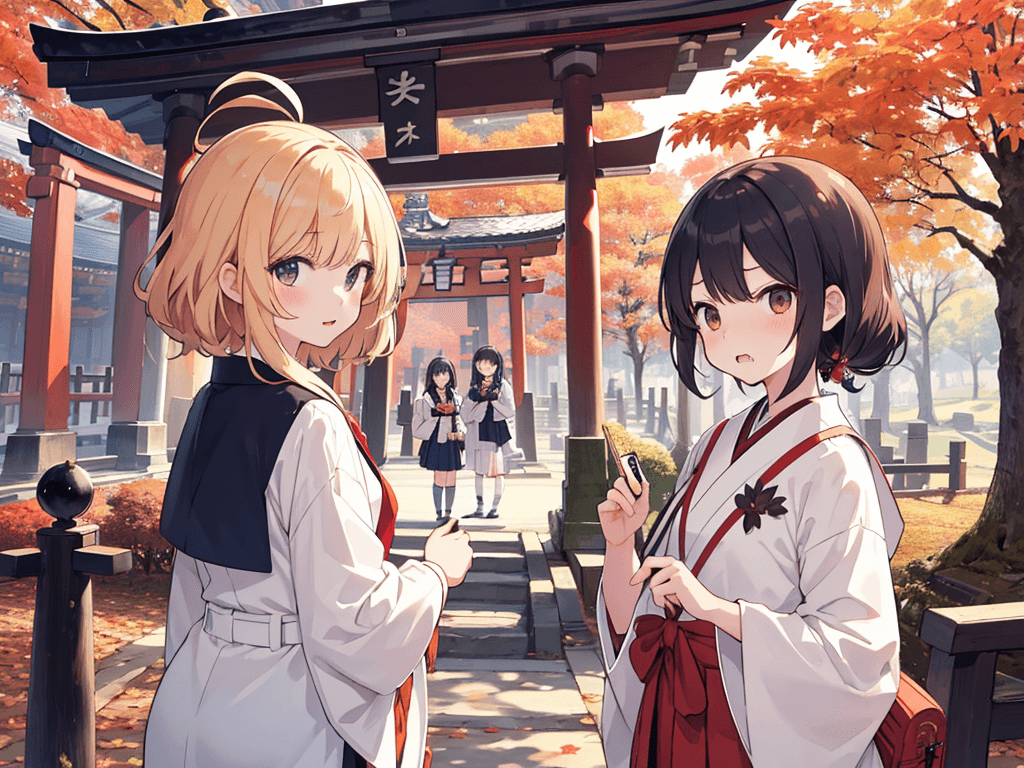
数値が大きい順に対象が決まり、左の袴の女の子だけが怒った表情に変化しました
Mask min area ratio
Mask min area ratioは、検出する対象物の大きさの最低ラインを決める数字になります
0.05にすると、画像全体の5%未満は補正をしないようにするパラメータです
たとえば、以下の原画にを補正してみます
![](https://nagi.blog/wp-content/uploads/2023/10/fa0e7145aafee68d9899a0c7accd062f.png)
Mask min area ratioは、0.04設定しにしました
ます、検出が行われます
![](https://nagi.blog/wp-content/uploads/2023/10/a2ad43d92280b4f6e04a199751d2f889.png)
![](https://nagi.blog/wp-content/uploads/2022/03/e83fa52eac00d47020c79e84425066c0-150x150.jpg)
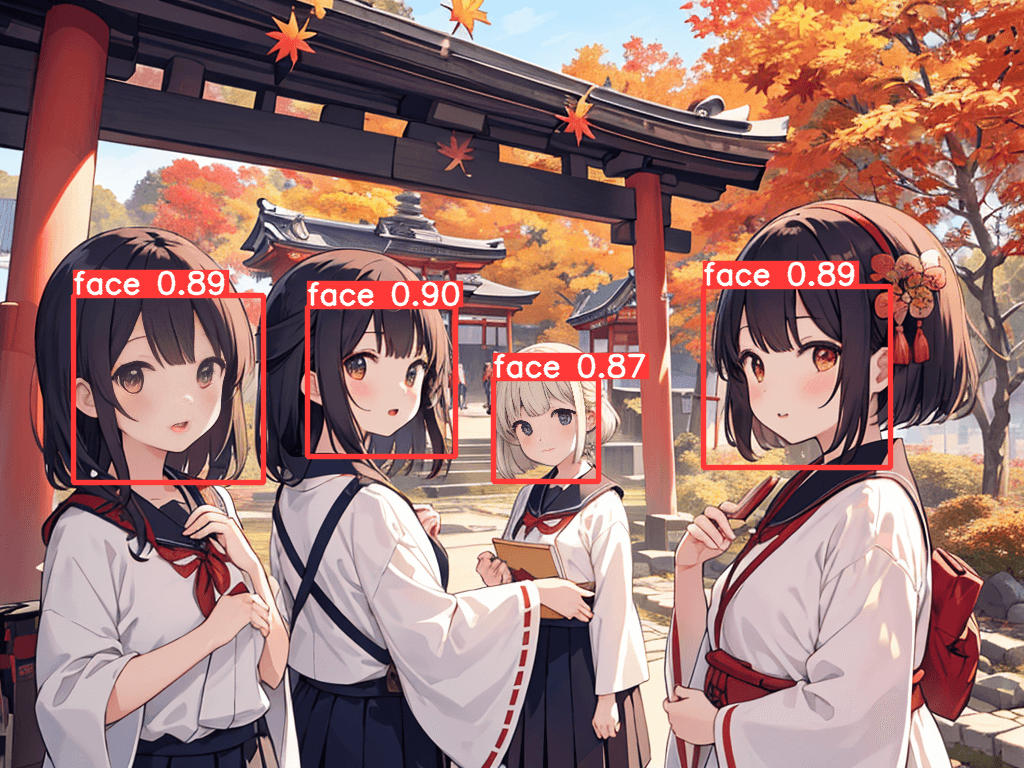
修正は両サイドの2人だけが対象となり表情が変化しました
![](https://nagi.blog/wp-content/uploads/2023/10/dcd8bf5b461454eae840dbad45a4a4ba.png)
Mask max area ratio
逆に、Mask max area ratio検出する対象物の大きさの最大のラインを決める数字になります
Mask min area ratioは、0に戻し
Mask max area ratioを0.04にしました
![](https://nagi.blog/wp-content/uploads/2023/10/faf75814409c4b39f4a778c1fbe039bd.jpg)
![](https://nagi.blog/wp-content/uploads/2023/10/4952166561ee032d7434ec524686aac2.png)
真ん中の2人が表情が変わり、両サイドの2人は表情が変わりません
![](https://nagi.blog/wp-content/uploads/2022/03/e83fa52eac00d47020c79e84425066c0-150x150.jpg)
ちなみに、Detectionをデフォルトに戻すと、4人とも表情が変化しました
![](https://nagi.blog/wp-content/uploads/2023/10/a586b9405e6ff1e195be4aea90f80ed6.png)
![](https://nagi.blog/wp-content/uploads/2022/03/975429aa9a80f4f9bc5ca68a5e46d0cf-150x150.png)
以下は、私が参加させて頂いているプロジェクトです
![](https://nagi.blog/wp-content/uploads/2022/03/975429aa9a80f4f9bc5ca68a5e46d0cf-150x150.png)
StableDiffusionに関する以下のコンテンツとコラボさせて頂いてますので、ご興味ありましたら覗いてもらえたら嬉しいです
おまけ 動画版【ADetailer】
StableDiffusion WebUI v1.6.0(随時更新リサーチ中)
- StableDiffusion WebUIバージョン1.6.0リリース速報まとめ
- 【SDXL1.0のVAE】StableDiffusion WebUI v1.6.0 導入&設定方法
- StableDiffusion WebUI ver1.6.0「VAE」切り替えを便利なインターフェイス
- ControlNet ver1.14バージョンアップSDXLに対応…しかし
- SDXL1.0環境のEasyNegative【negativeXL 】ネガティブプロンプト省略embeddings
StableDiffusion WebUI や拡張機能のダウングレード
StableDiffusion webUI基本設定
- StableDiffusion WebUIをローカル環境で使う設定のやり方♪
- StableDiffusion WebUIバージョンアップ方法。更新手順や注意点
- StableDiffusion WebUIバージョンの確認方法
- 【操作画面の解説・txt2img】分かりやすくパラメータの使い方を説明
- 【画像生成AIイラスト】VAEインストール方法と便利な使い方
- 「VAE」かんたんに切り替えするインターフェイス
- 【日本語化】StableDiffusionWebUI インターフェイス設定方法。
- 大きく、キレイな画像を出力する方法Hires.fix使い方。解像度アップ!
- 操作画面の5つのボタン解説
- 【X/Y/Z plot】使い方。プロンプトや設定を調整し比較してみよう!
- 【img2imgインペイント】画像生成AIイラストを修正/inpaintのパラメータ
- 【学習モデルの追加と変更】かんたん切り替え
- StableDiffusion WebUIバージョン1.3。LoRAを使う方法
- 【まとめ】画質が悪いを改善する7つの機能の使い方!
- 【StabilityMatrix】StableDiffusionWebUI簡単インストーラー
【学習モデル・checkpoint】
- 【実写系学習モデル・3選】写真の様なリアルな美少女が作れるモデルまとめ
- 【BracingEvoMix】日本人風の顔に特化した最新学習モデル
- 【BeautifulRealisticAsiansV5通称BRAV5】
プロンプト
- Stable Diffusionプロンプト(呪文)に関しての書き方。
- 【画質を上げる・画質に美しく芸術性を持たすプロンプト】呪文の書き方
- 【Tag complete】プロンプトのコツを掴める入力補助機能。
【ControlNet】
- 【ControlNet】使い方とインストール方法。画像生成AIイラストに便利な神機能。
- 【ControlNet-V1.1206】最新バージョンアップデート&モデル更新方法。
- 【ControlNet】不具合?表示されない…反映されない時には?
- 骨(棒人間)を使い、思い通りの姿勢をとらせた方法。
- 原画の絵と同じ姿勢(ポーズ)のAIイラスト生成のやり方♪
- AIイラストから線画を抽出する方法♪
- AIイラストを手描きで修正し、生成するやり方♪
- 【ControlNet】自作の線画イラストを画像生成AIに色塗り(ペイント)させる方法
- 自作の線画イラストをAIイラストに色塗り(ペイント)させる方法♪
【その他 拡張機能について】
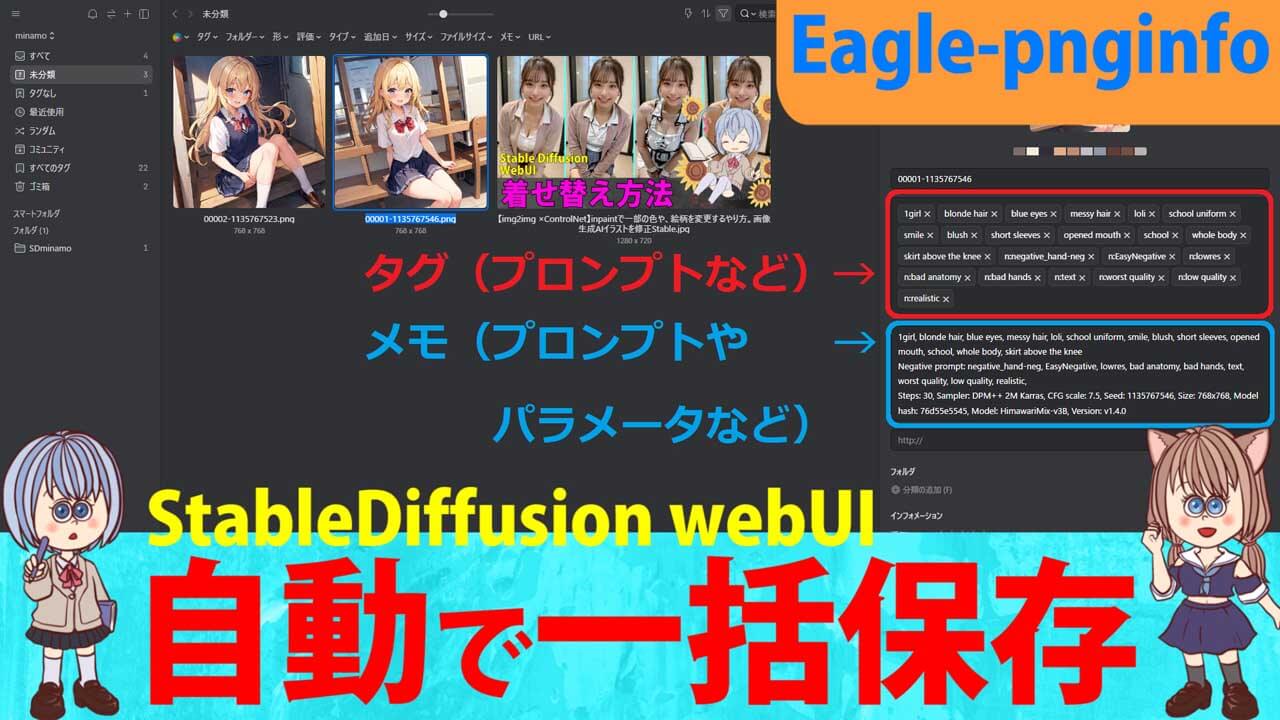
- 【Eagle-pnginfo】画像やプロンプトを自動で一括管理できる拡張機能
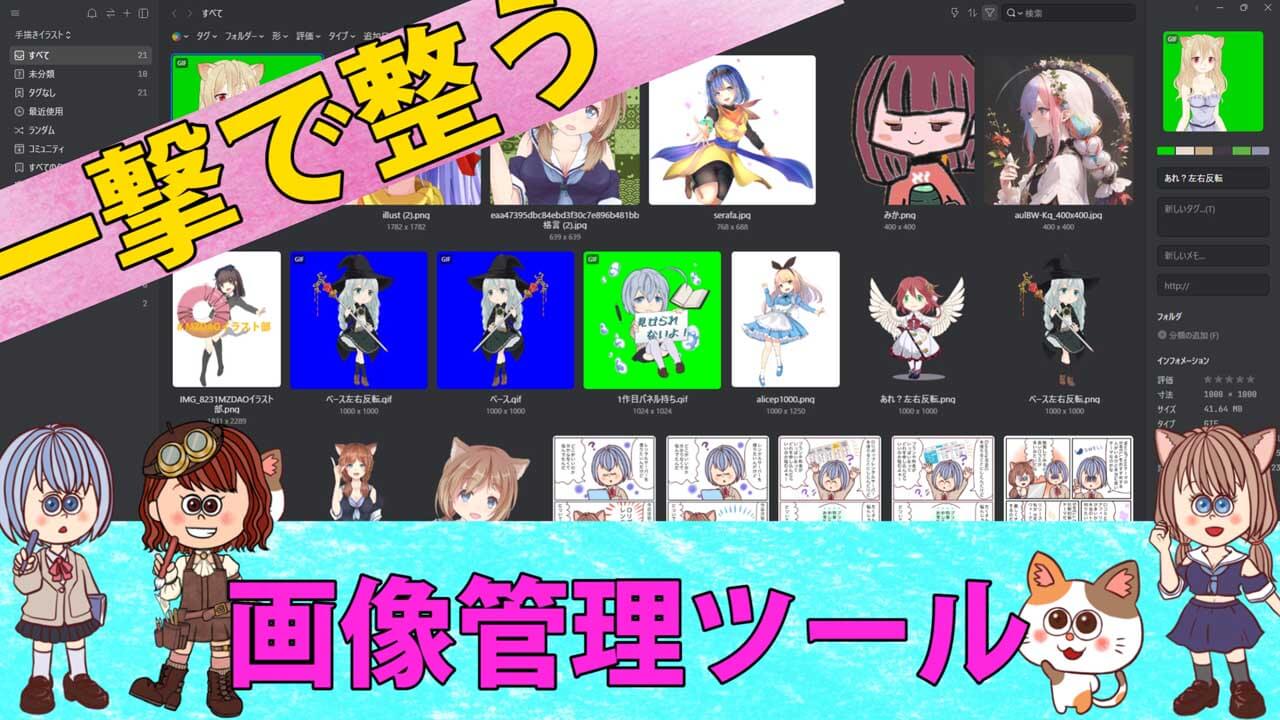
- 【eagle】画像管理おすすめアプリ使い方
- 【eagle】公式サイト
- 【EasyNegative v2】導入&使い方♪設定方法
- 【EasyNegative V2】反映されないときには?原因と対処方法
- 【EasyNegative V2】【LoRA】にサムネイルを付ける方法
- 【LoRA】画像生成AIの追加学習データの使い方。
- 【Dynamic Prompts】ダウンロードとインストールの設定方法と特殊構文の使い方
- SDXLでも使える?【ADetailer】手や顔の崩れを自動できれいに修正できる拡張機能
画像生成で収益化方法
- AIイラストを生成して販売する方法(わどさん・外部リンク)♪
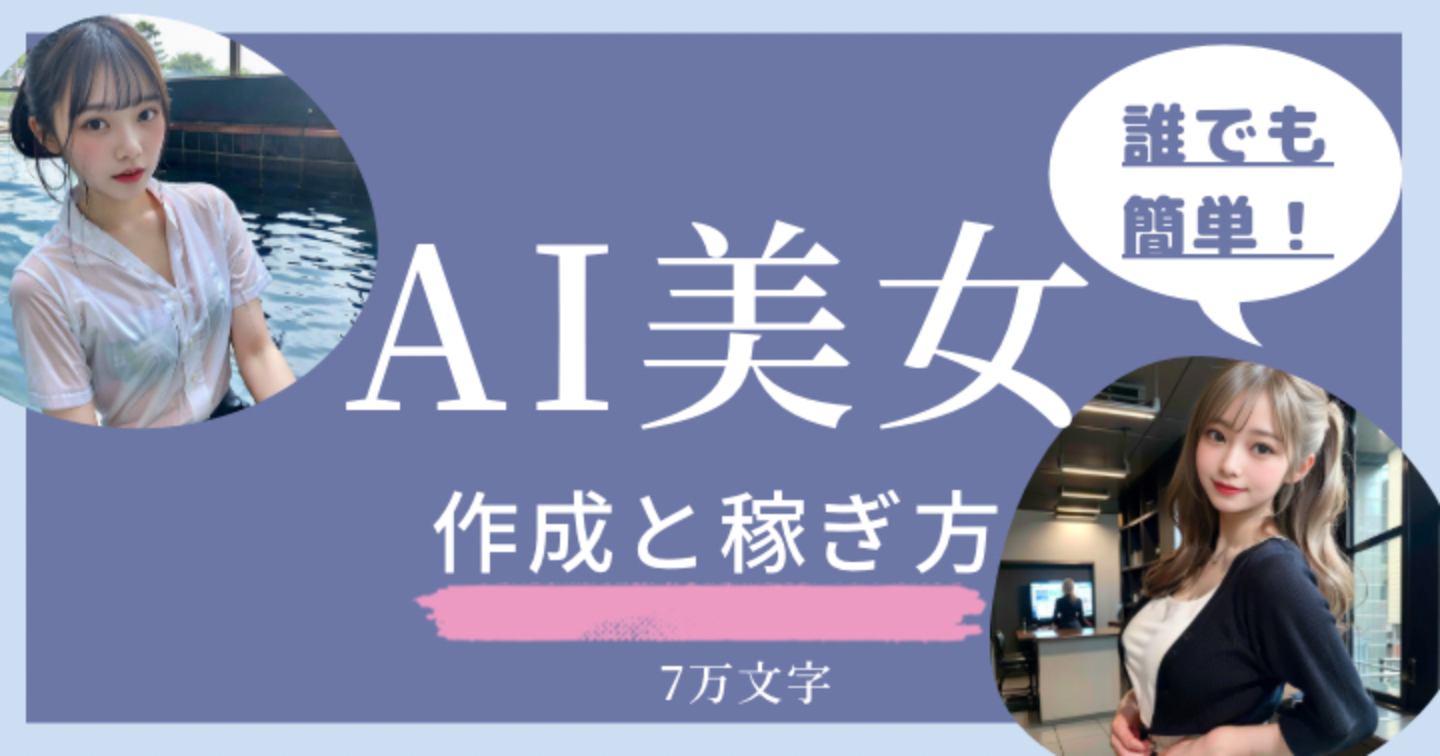
- 未経験でも10分で!AI美女をStableDiffusionでの作り方
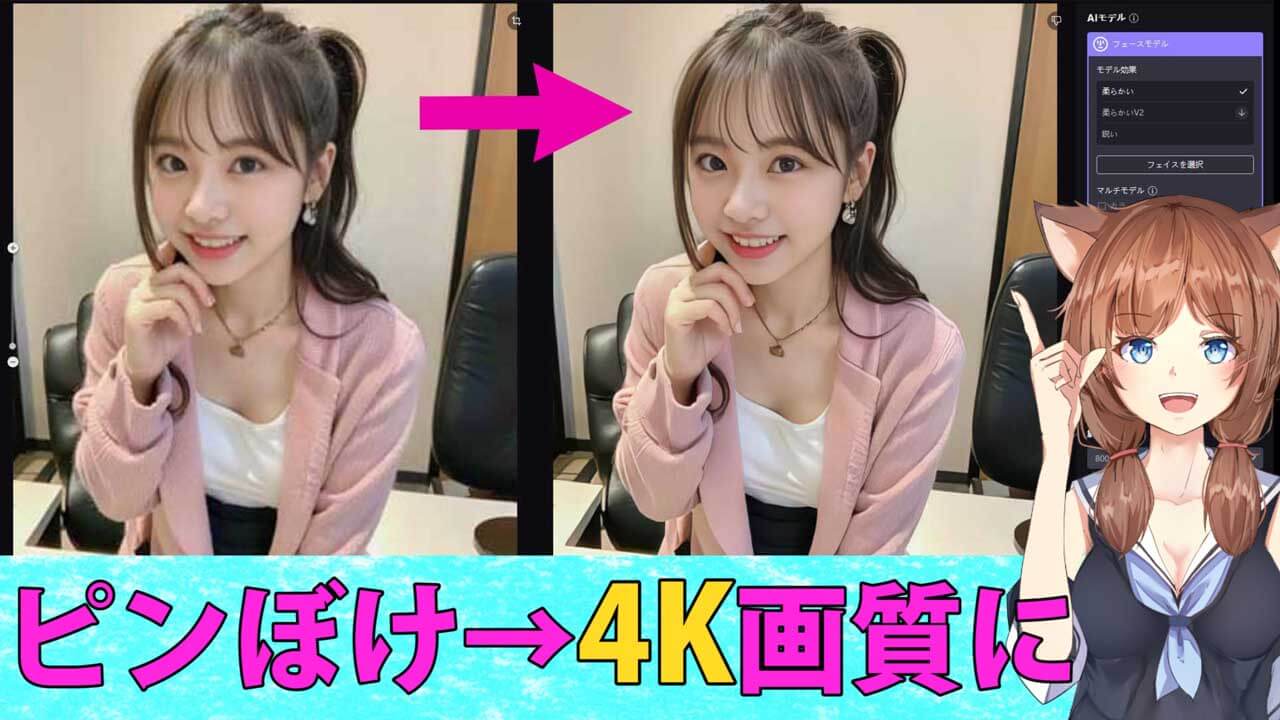
- AI美女などの画像販売で稼ぐ方法/AIグラビアをStableDiffusionWebUI で作る